“IT PUNKIN TIME!!”

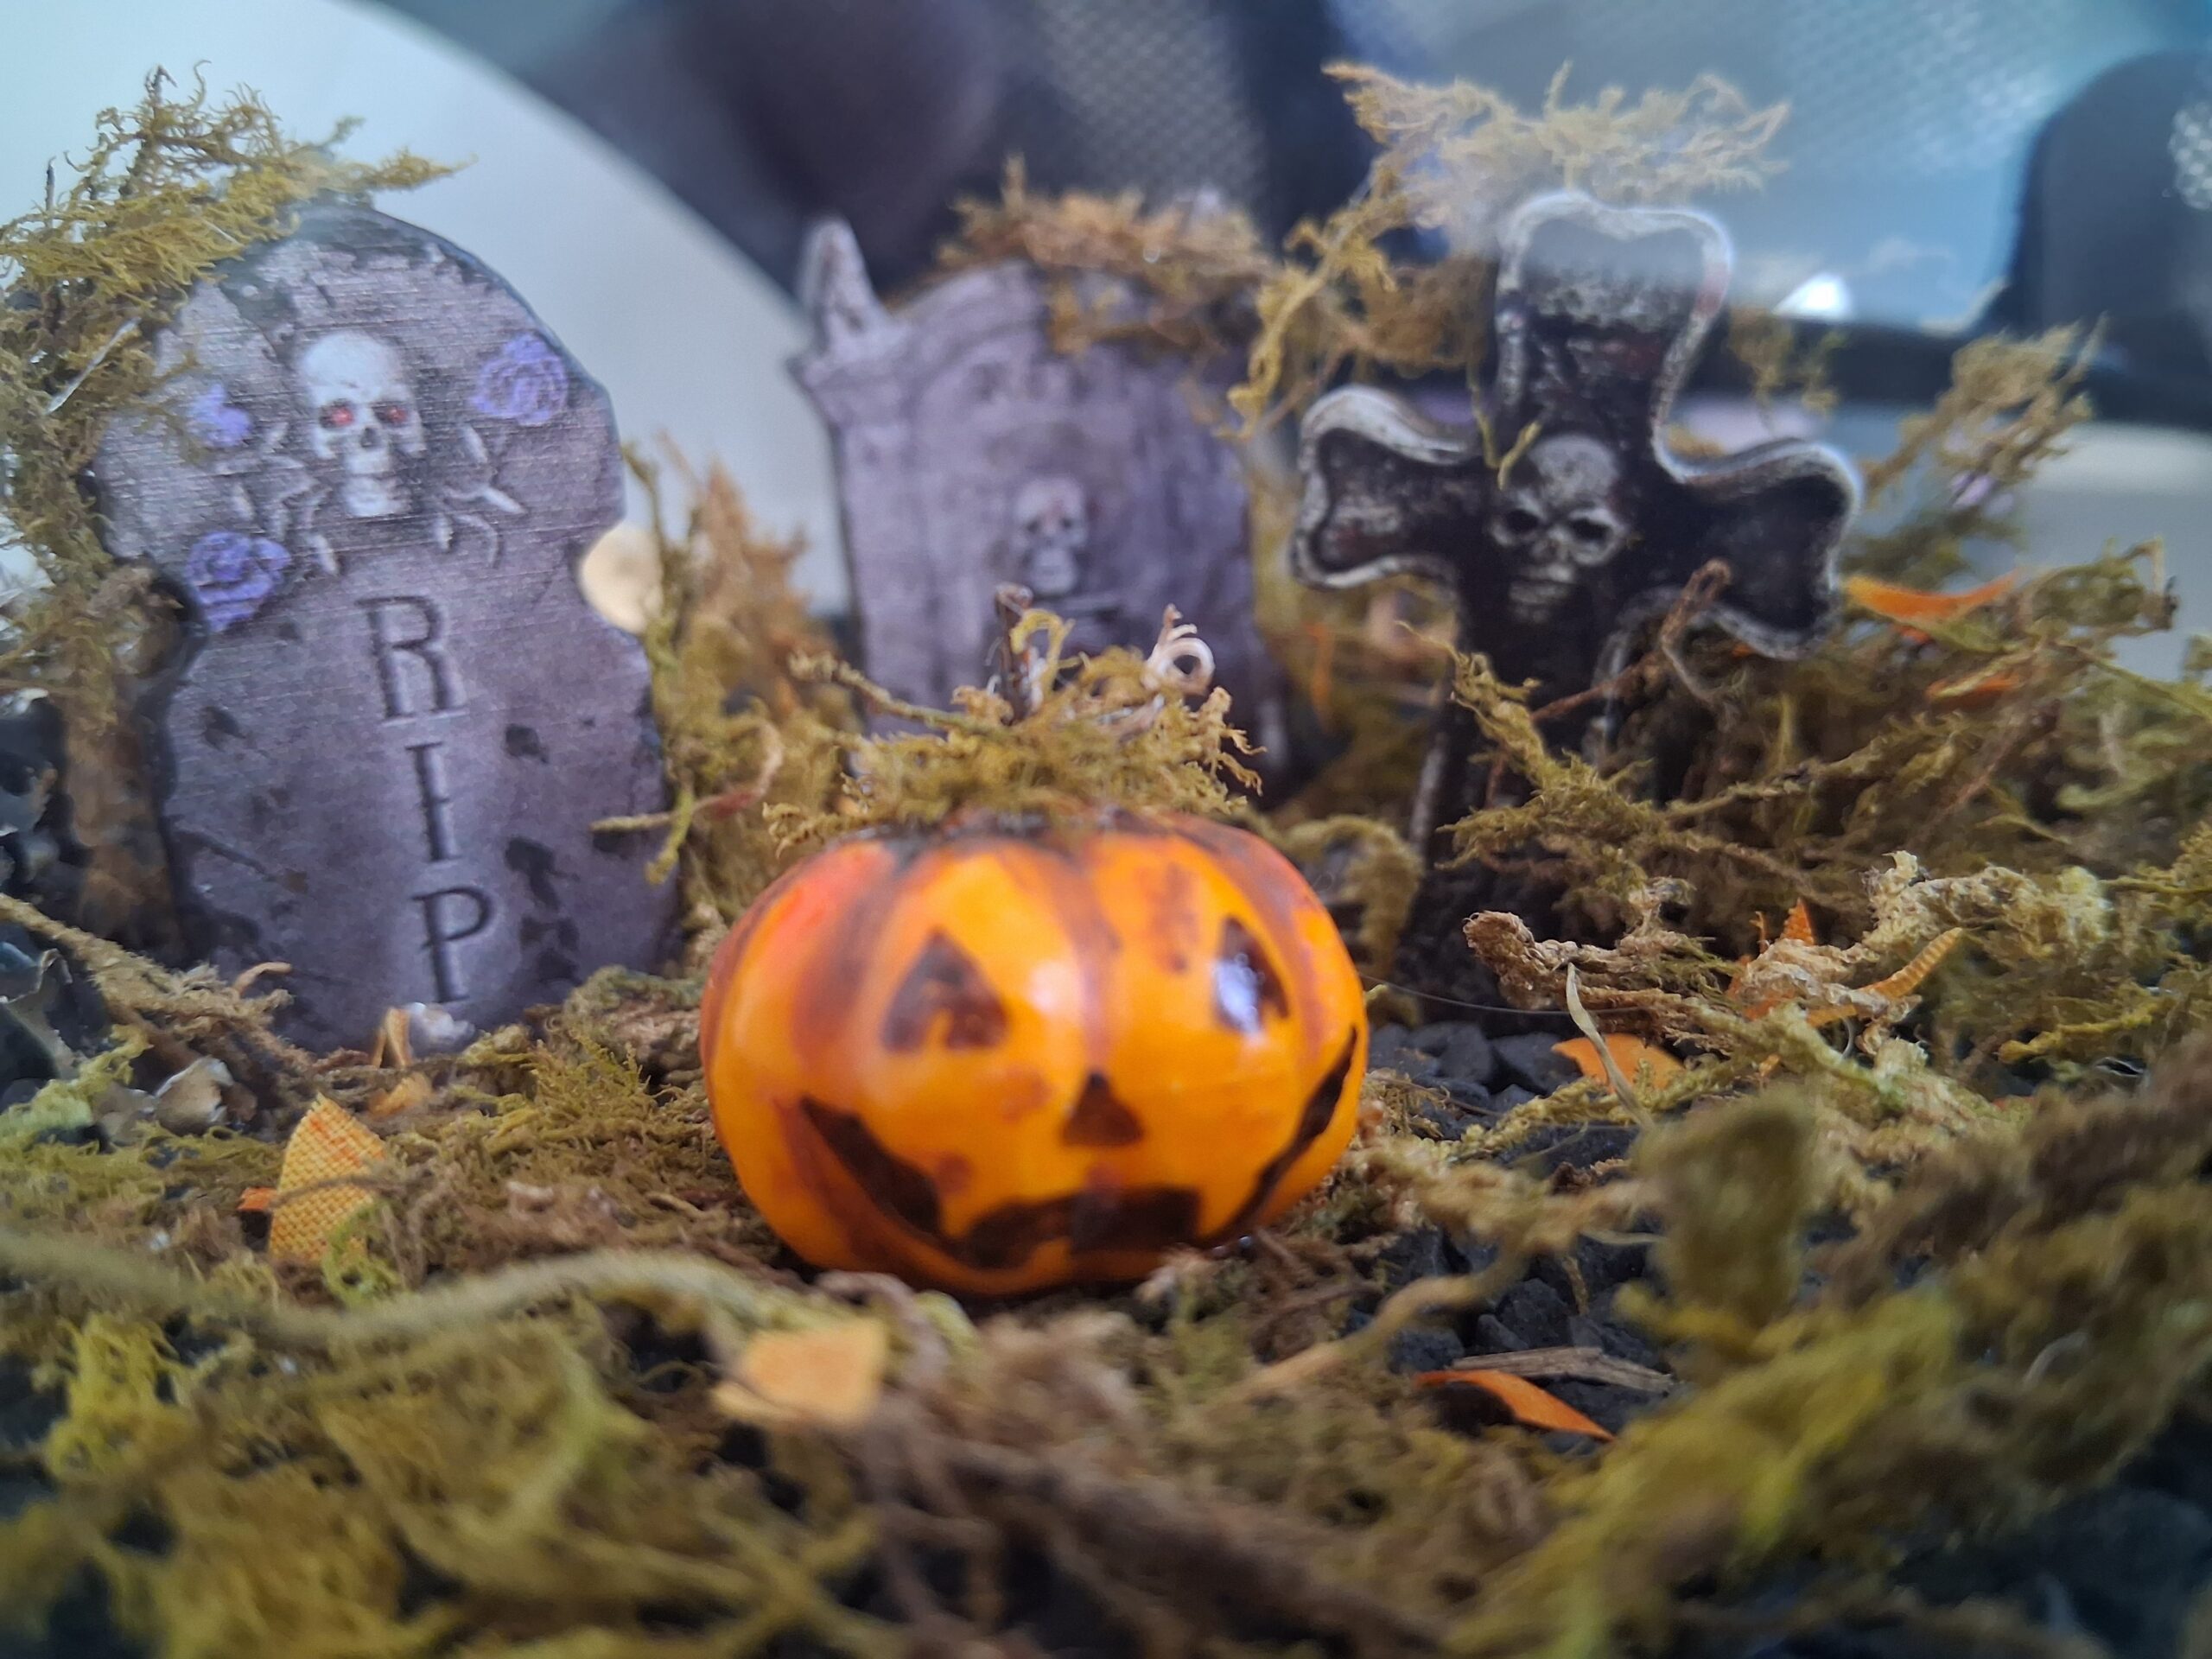
I said that, and I meant it. That’s why you’ll find in this humble, first-ever DIY craft of the Hollow, a tiny pumpkin in all its autumnal glory. I had so much fun creating a statement piece for my living room that would encapsulate the Halloween season. It’s simple yet impactful, I can almost feel a cool breeze and a tingle up my spine when I gaze into the glass sphere of my graveyard terrarium. What secrets lie behind that Jack-o-Lantern's grin? What has he seen in this overgrown yard of death? Why do the stains on those headstones look so ruddy? Fallen leaves adorn the earth daring you to stir them, but who else is listening, waiting, watching...?

If you’d like to make a graveyard terrarium as well, here is a list of the supplies you’ll need:
- A Glass Terrarium- you can choose any size or shape you think suits your graveyard the best. Mine is a 6-inch sphere from the Dollar Tree.
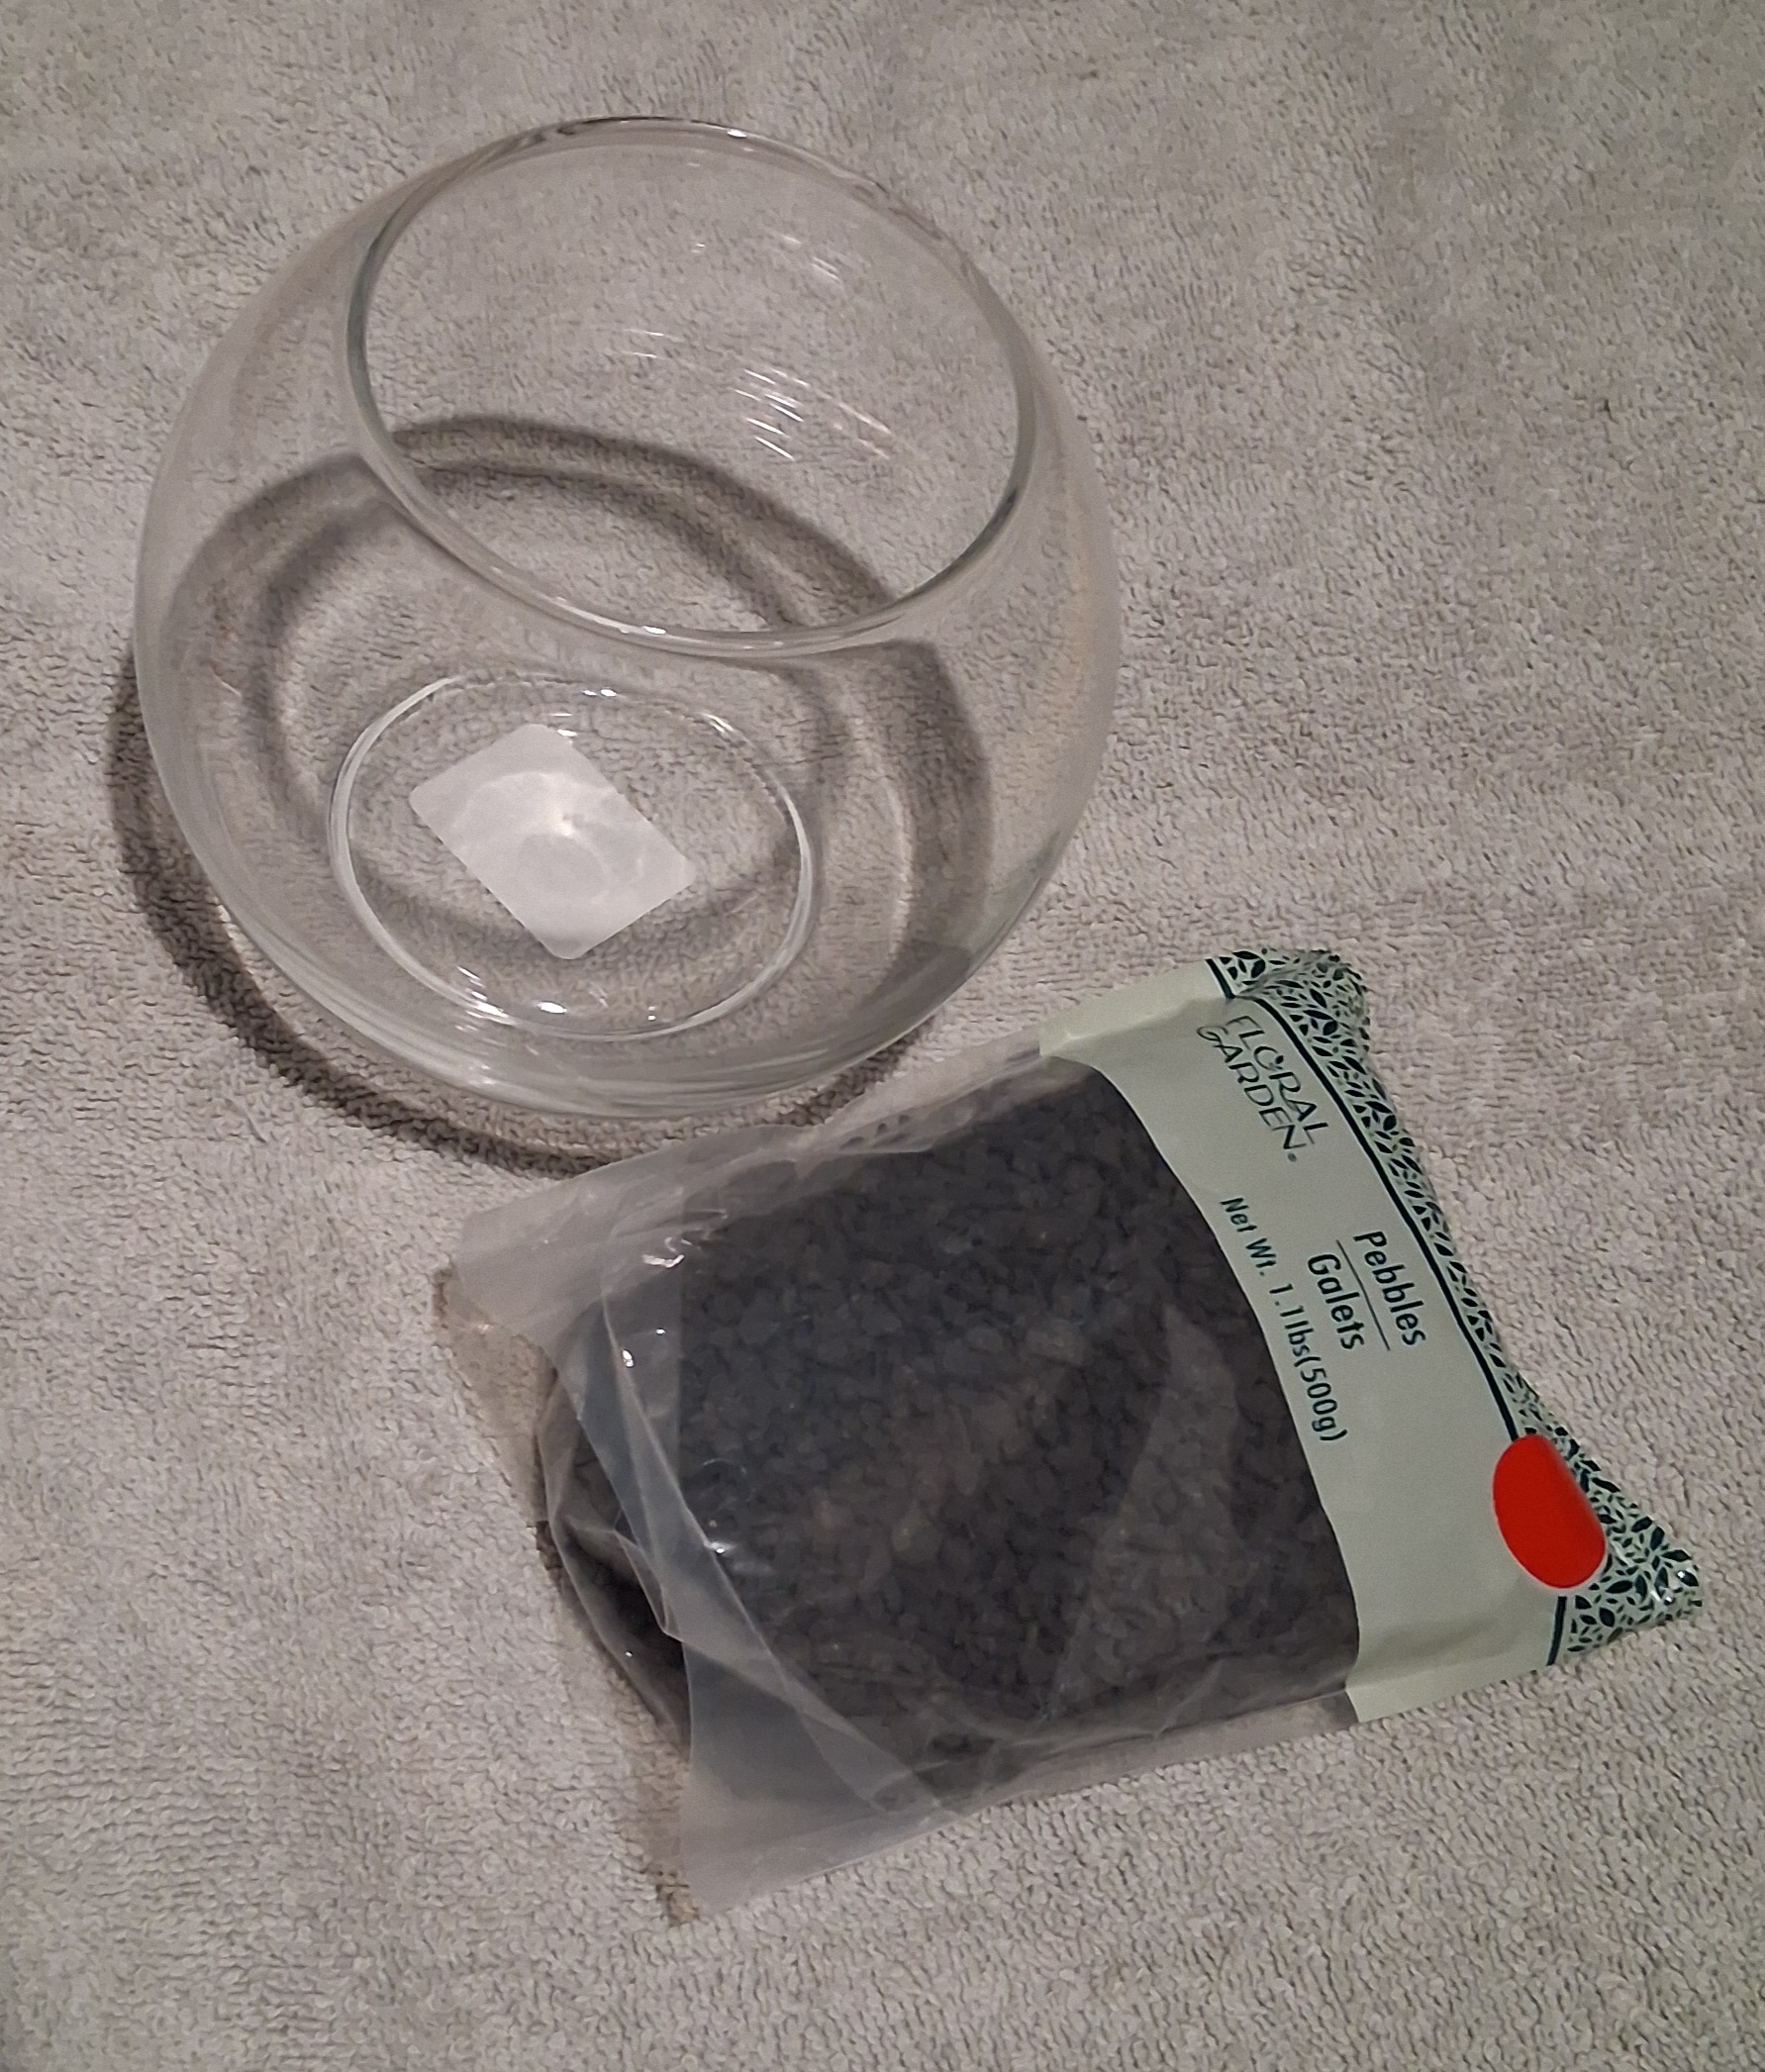
- Black Floral Garden Pebbles- Another Dollar Tree find. Black river rocks would work as well.
- Moss- I chose Sphagnum Moss for Reptiles off Amazon. Here is my affiliate link if you’d like to use it and help support the page. https://amzn.to/3IcB7Al

- Mini Tombstones- This set from Amazon was quite cheesy! But it turned out to be the perfect base for my scene. I also have an affiliate link for these as well. https://amzn.to/4nf1wNn
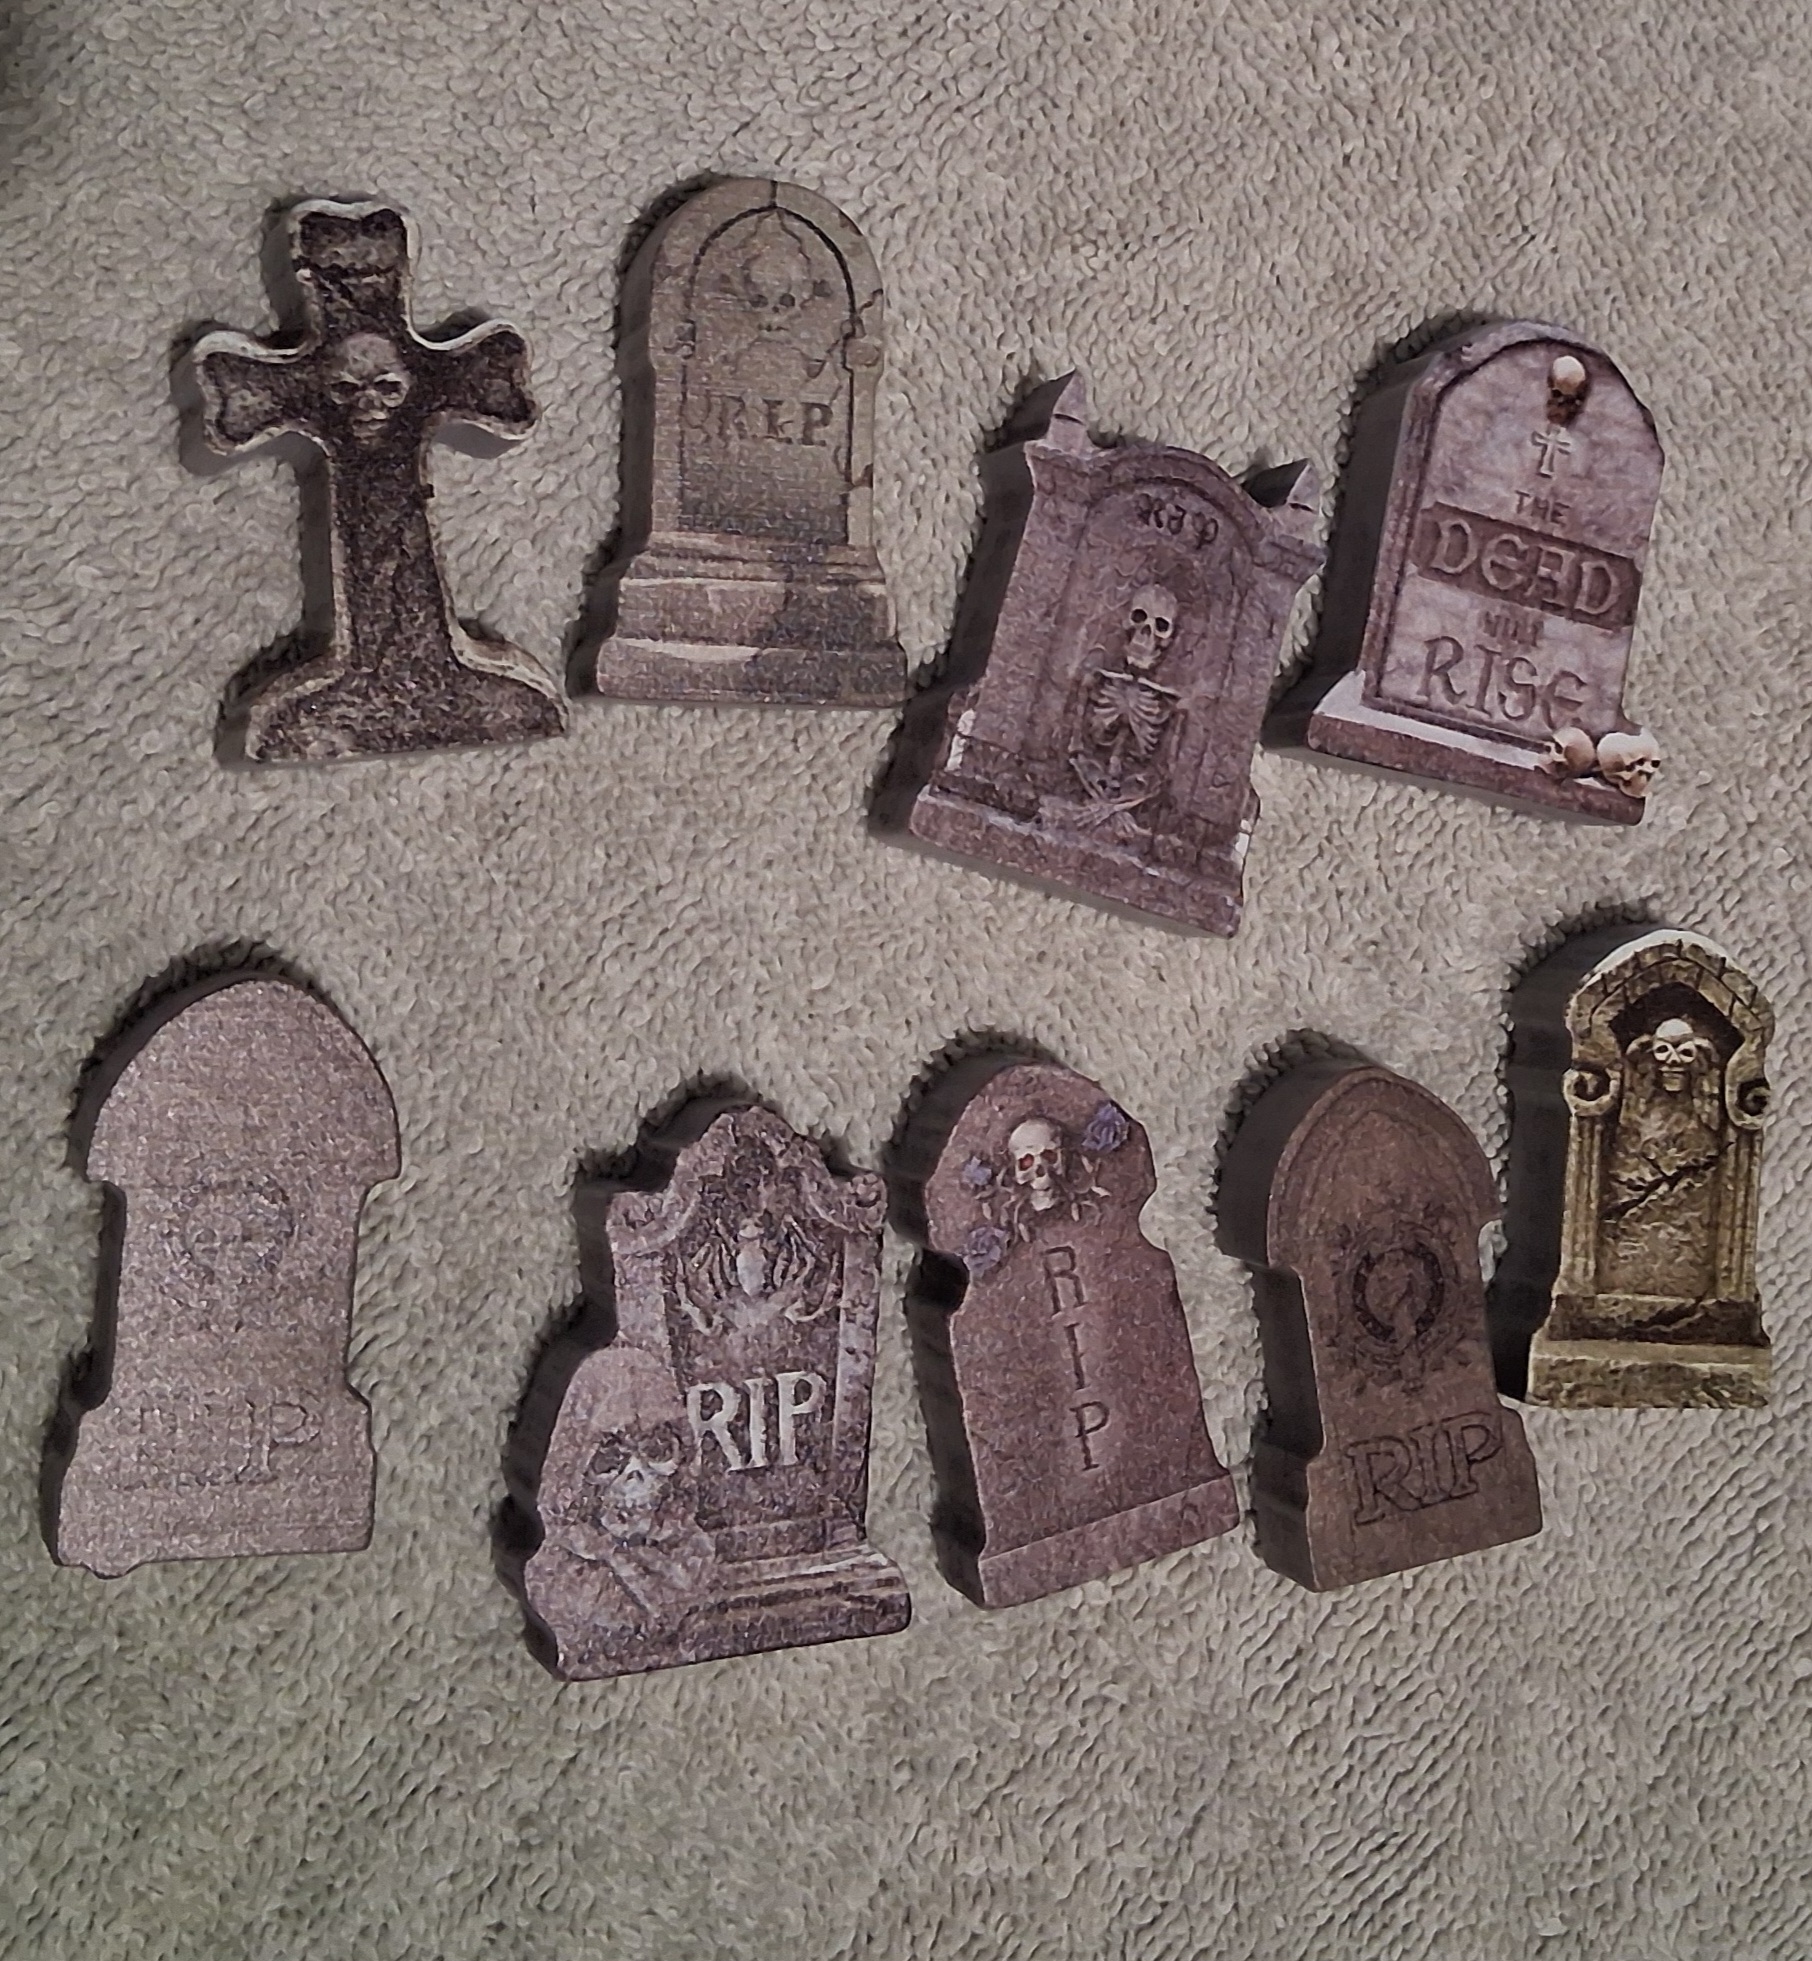
- Acrylic Paint in Yellow Ochre, Deep Red, and Ivory Black. You can find them at Michael’s Arts and Crafts in their generic brand Artist’s Loft.

- A Black Sharpie- Fine tip is best for working with tiny details.
- A Hot Glue Gun and Hot Glue Sticks
- Tweezers
- A Narrow Paintbrush
- A Pair of Scissors
- Something to use as a palette for your paint.
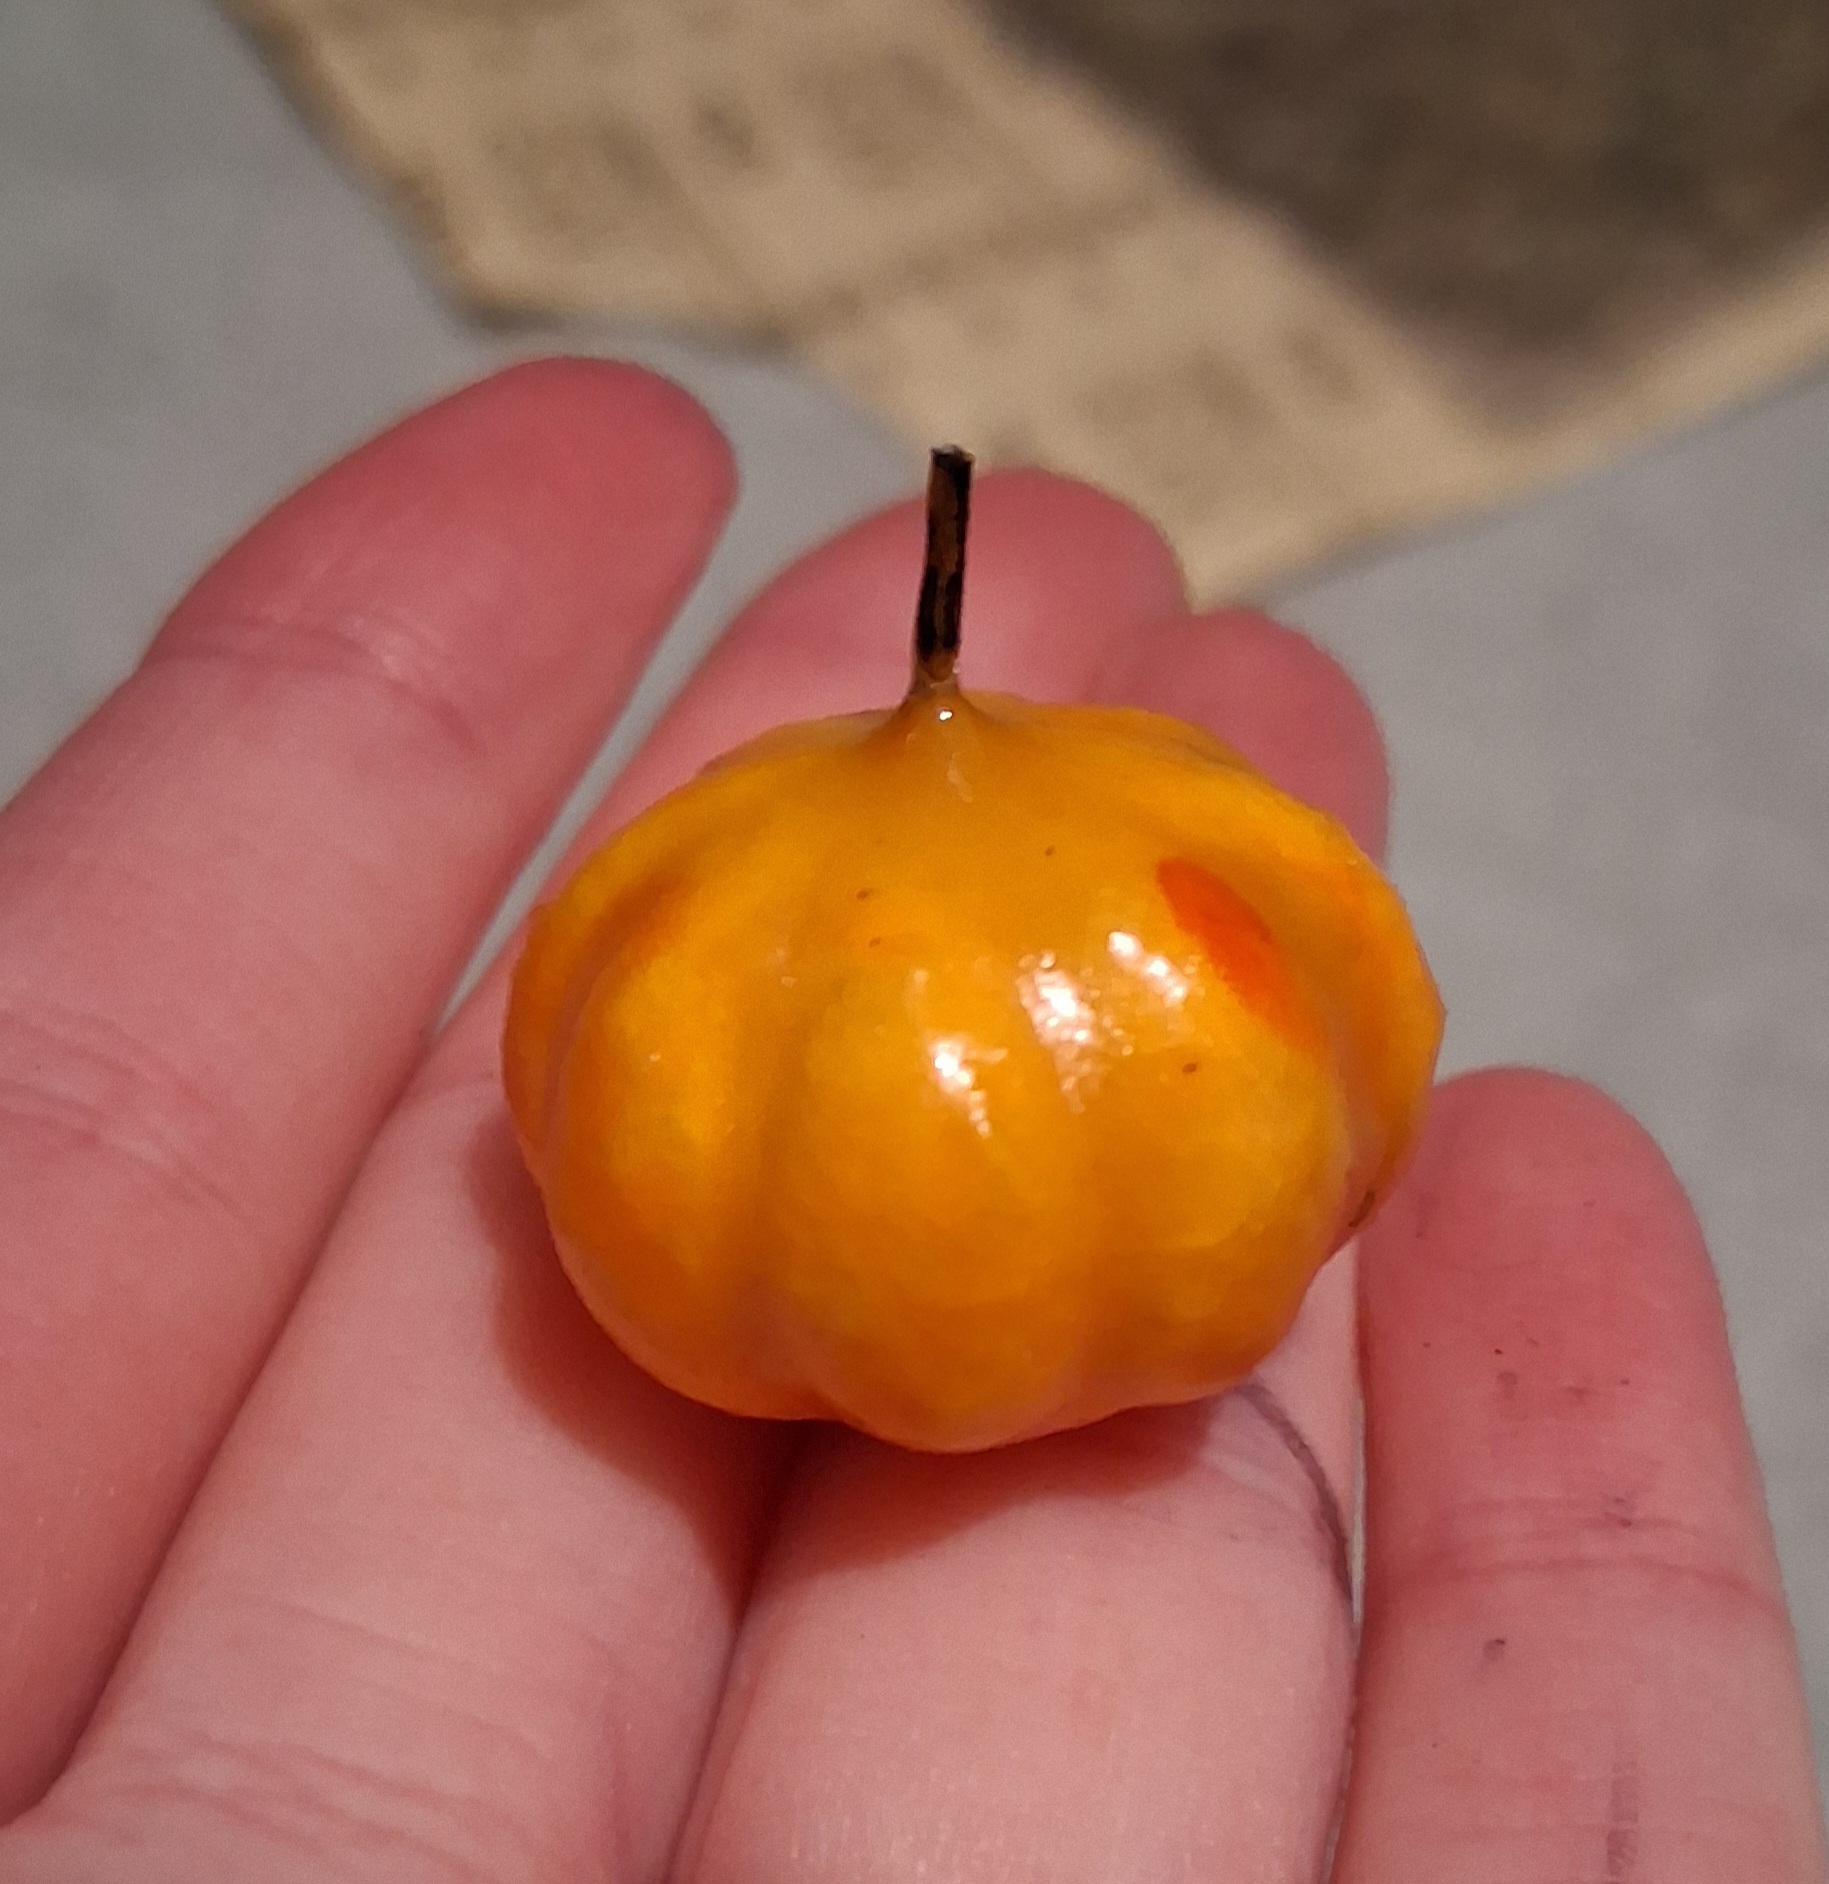
- A Tiny Pumpkin- Mine came off a wreath that had pumpkin-like berries, most likely a sprig from Michael’s Arts and Crafts.
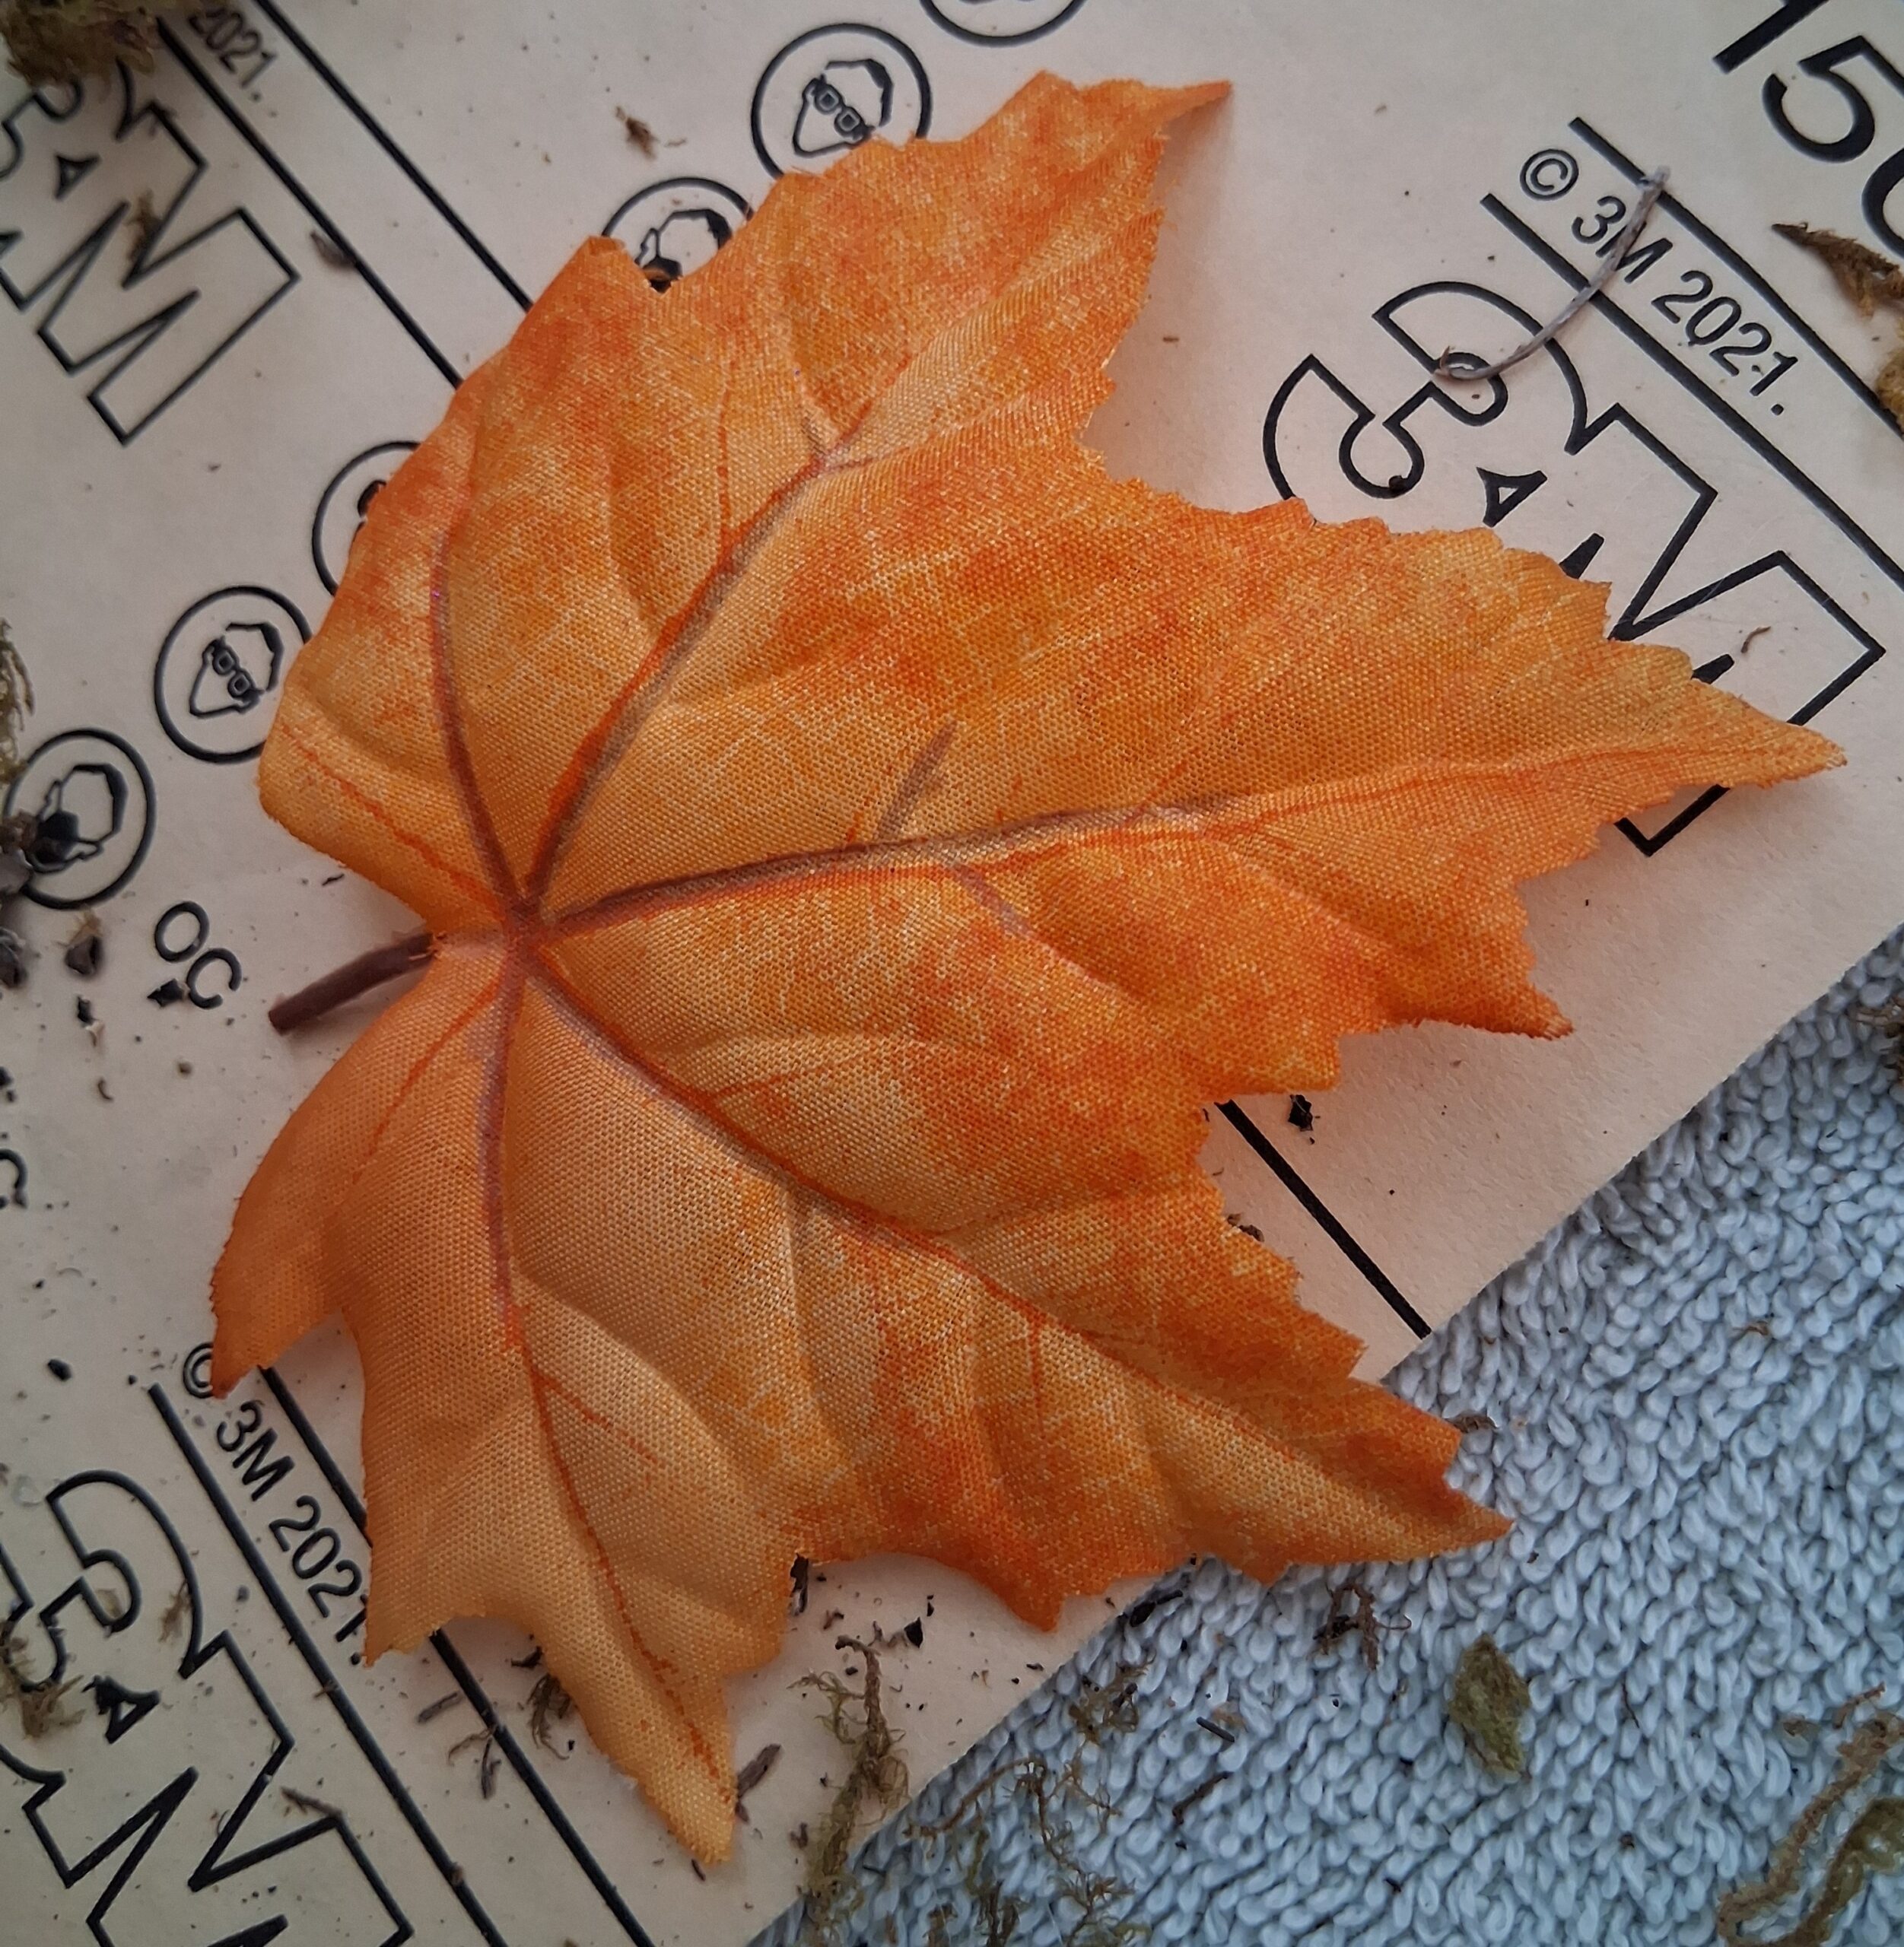
- An Orange Autumn Leaf- You can get this from any autumn garland. You’ll be cutting this up into tiny bits for a pop of color.
- A Microfiber Towel- I despise the texture of these, however there will be dust from the moss, and they do work exceedingly well at cleaning up glass surfaces.
Once you’ve gathered all of the elements you’d like to incorporate into your spooky enclosure, you’ll want to make sure you have a clean, wide space to work with. Make sure your glass is clean and smudge-free.
PREPARE YOUR ELEMENTS
You’ll want to prepare your elements first, so that they can dry and be ready to arrange in the terrarium without introducing wet paint and glue. I began with the Jack-o-Lantern since he’s kind of the star of the cemetery. I think he came out absolutely precious!
1. The Jack-o-Lantern
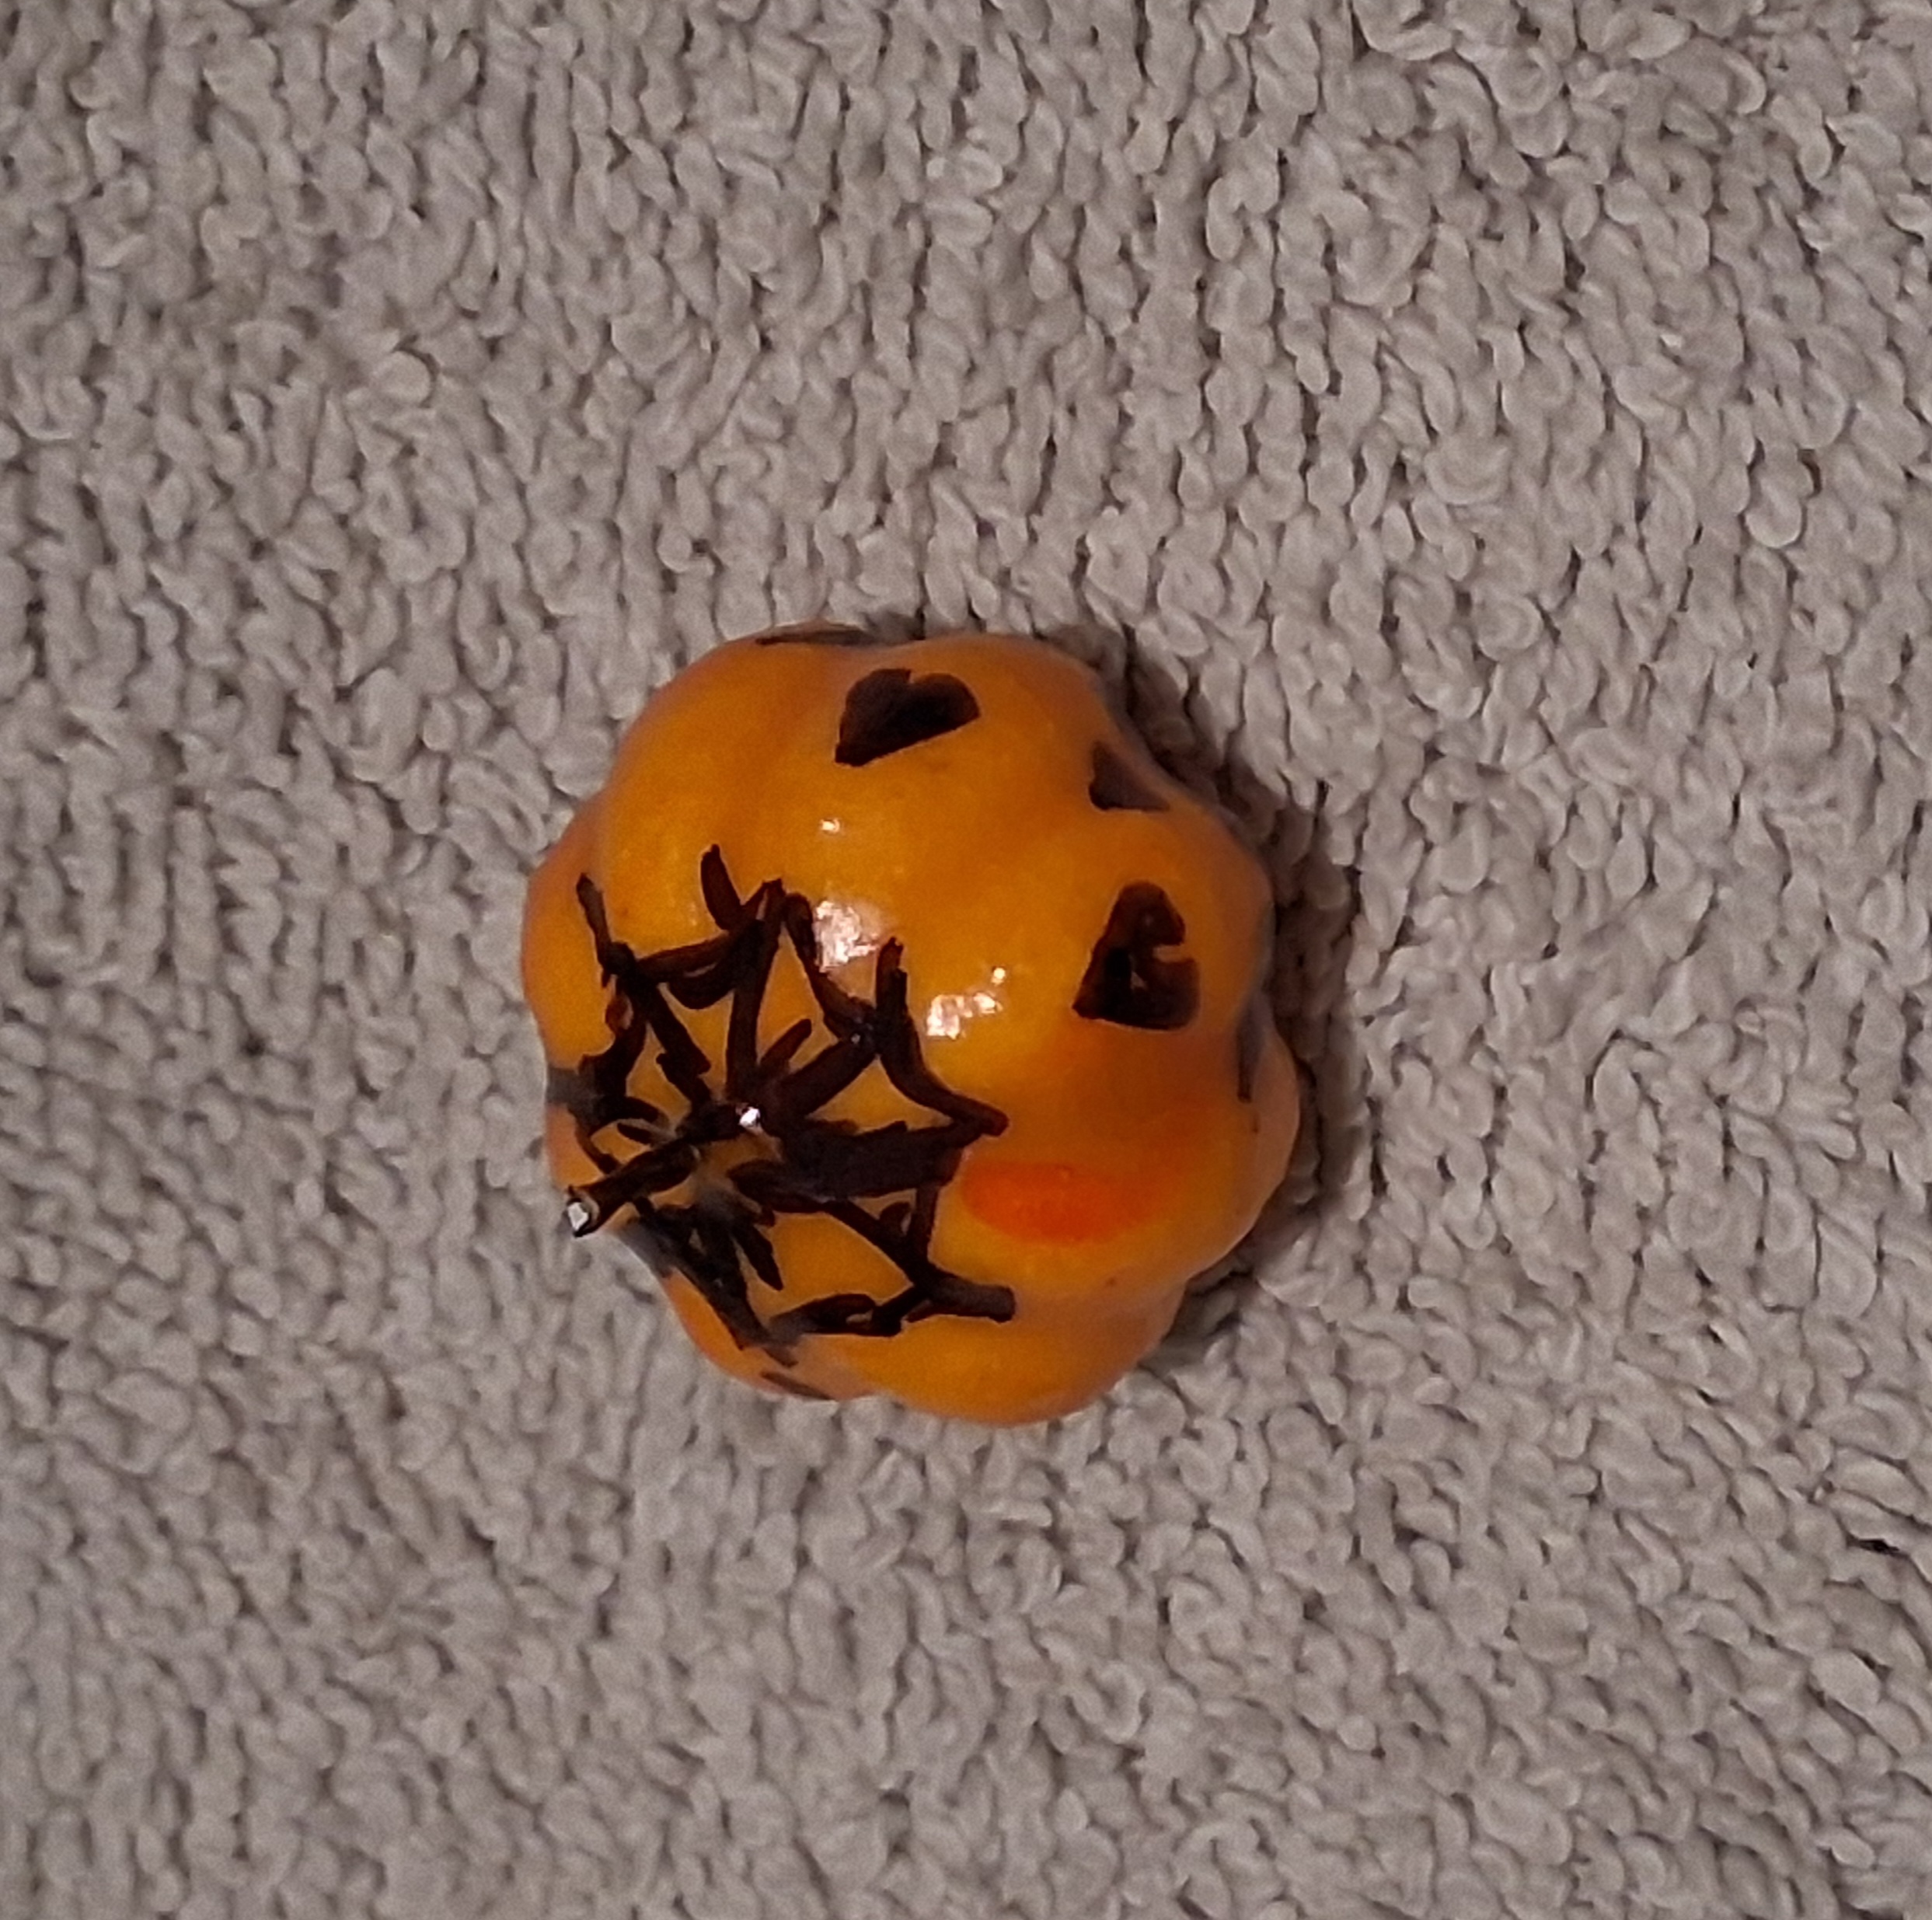
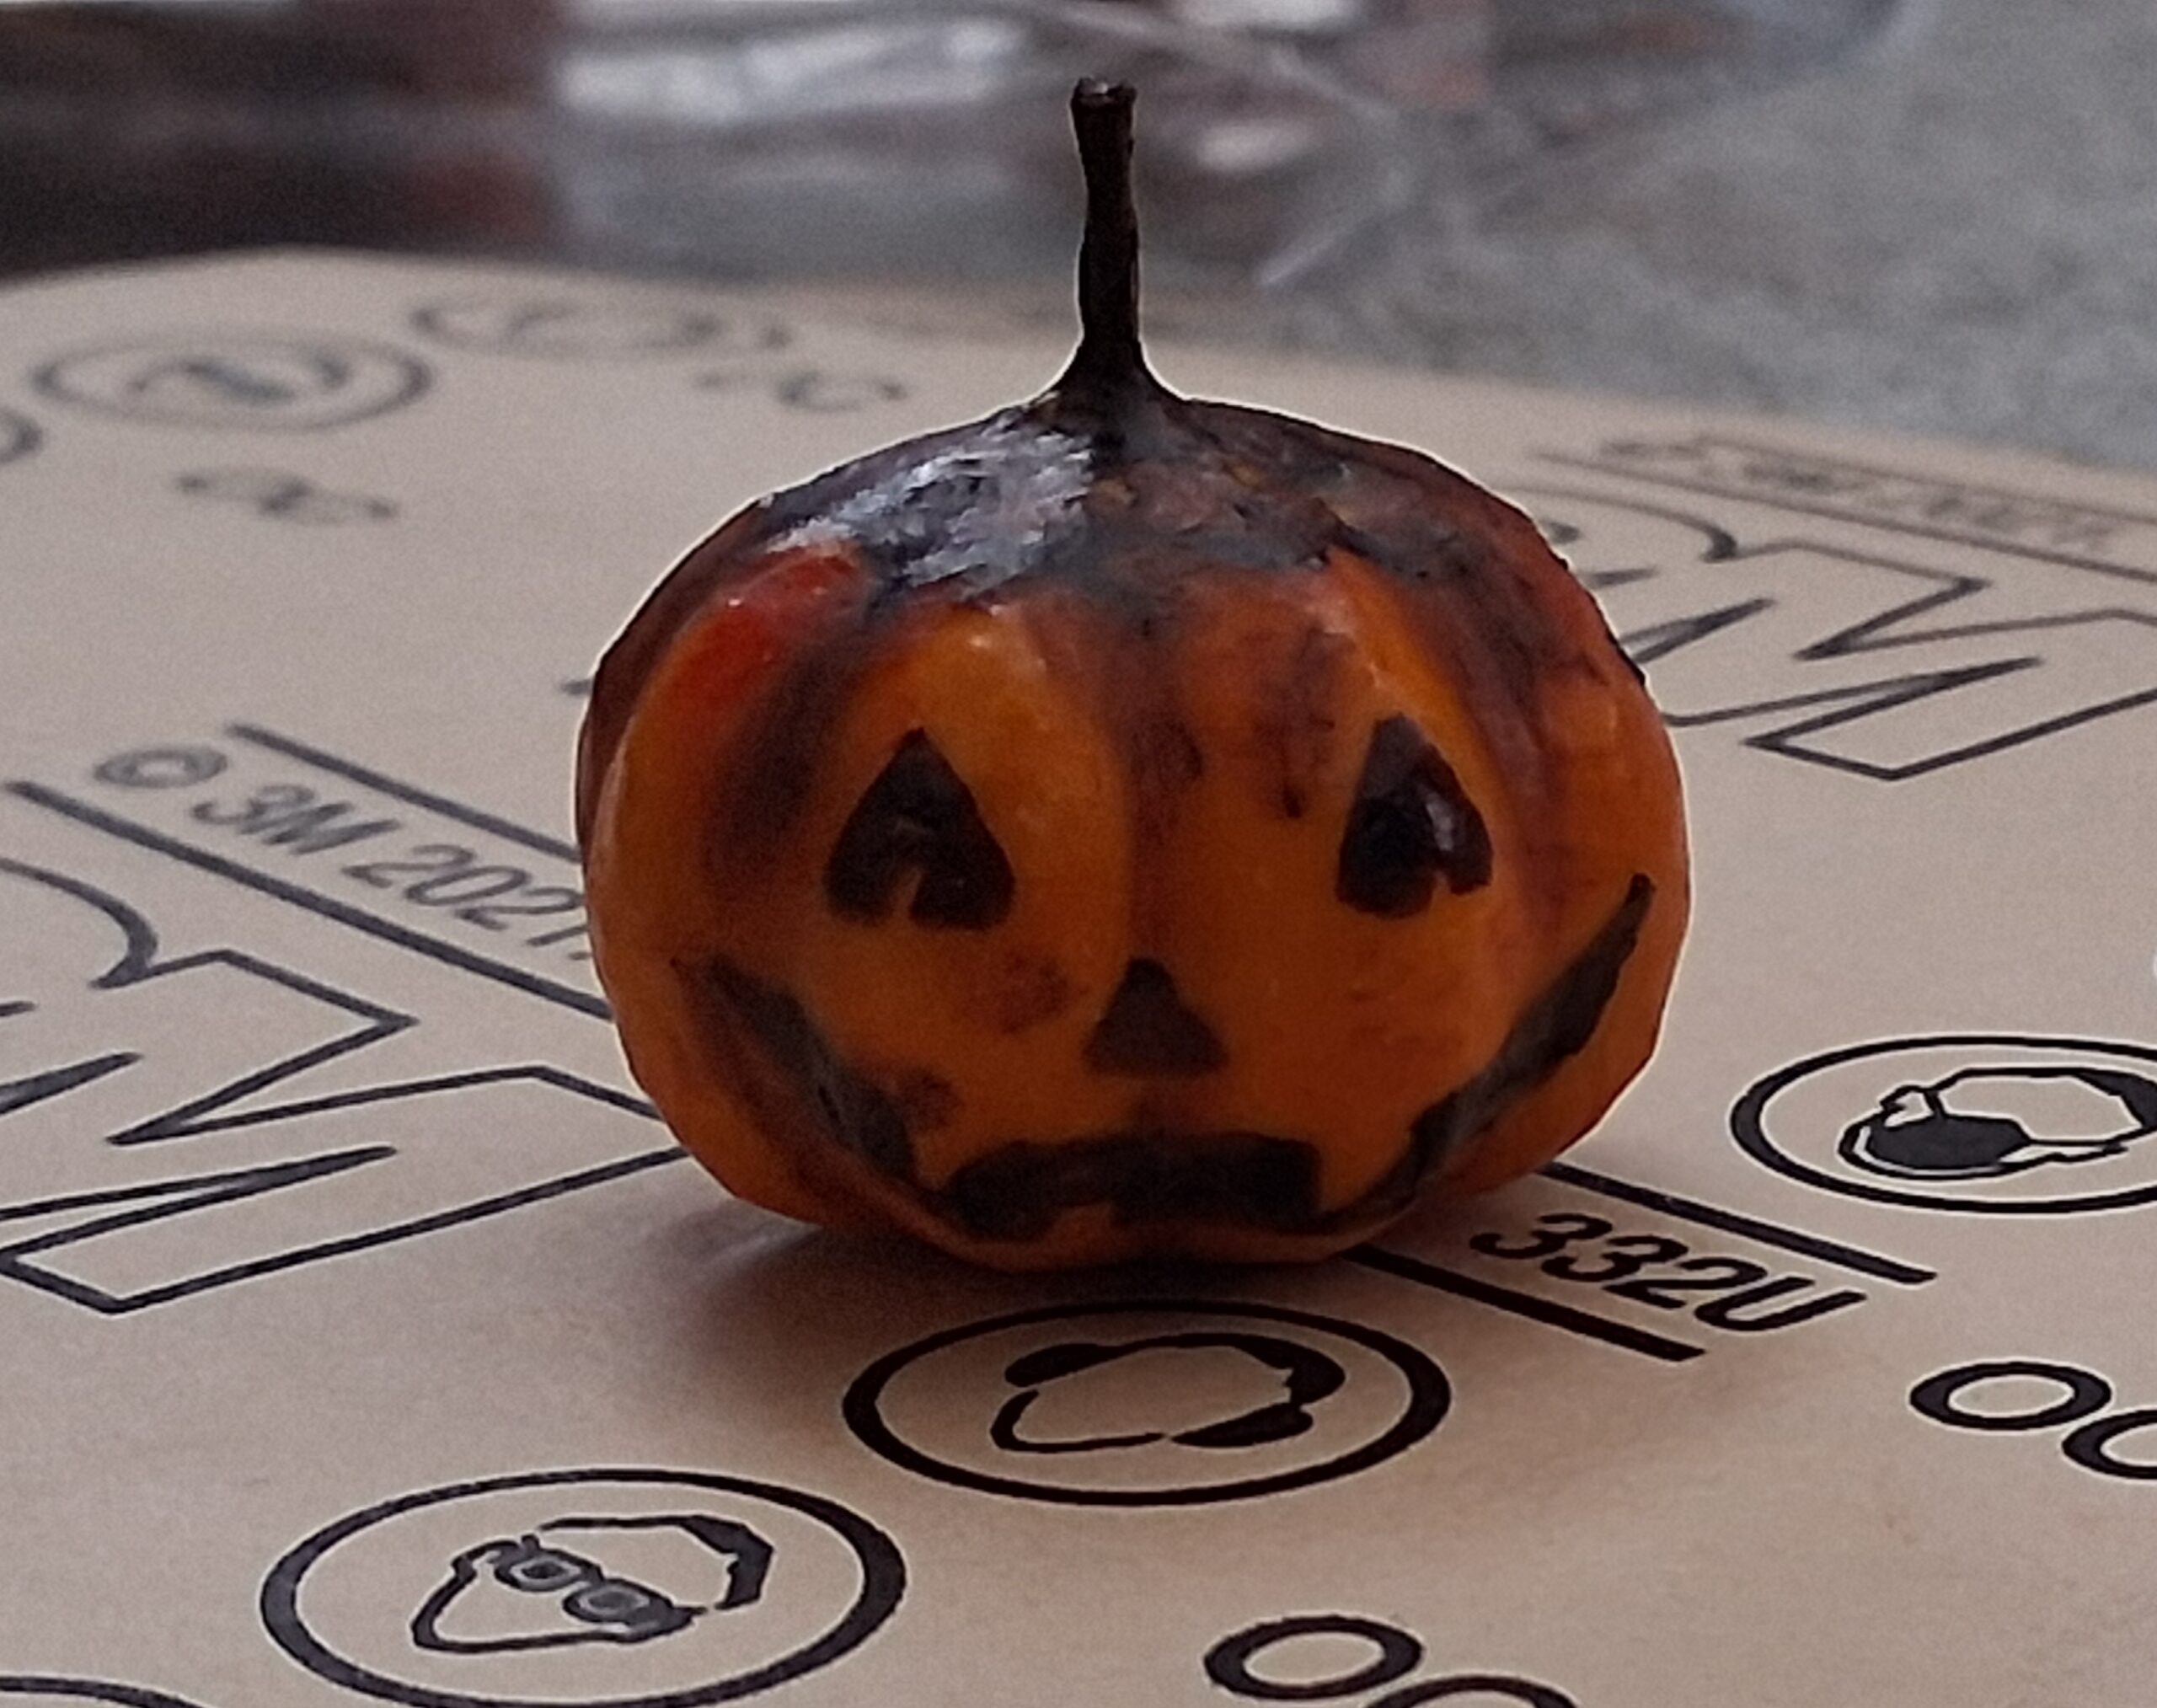
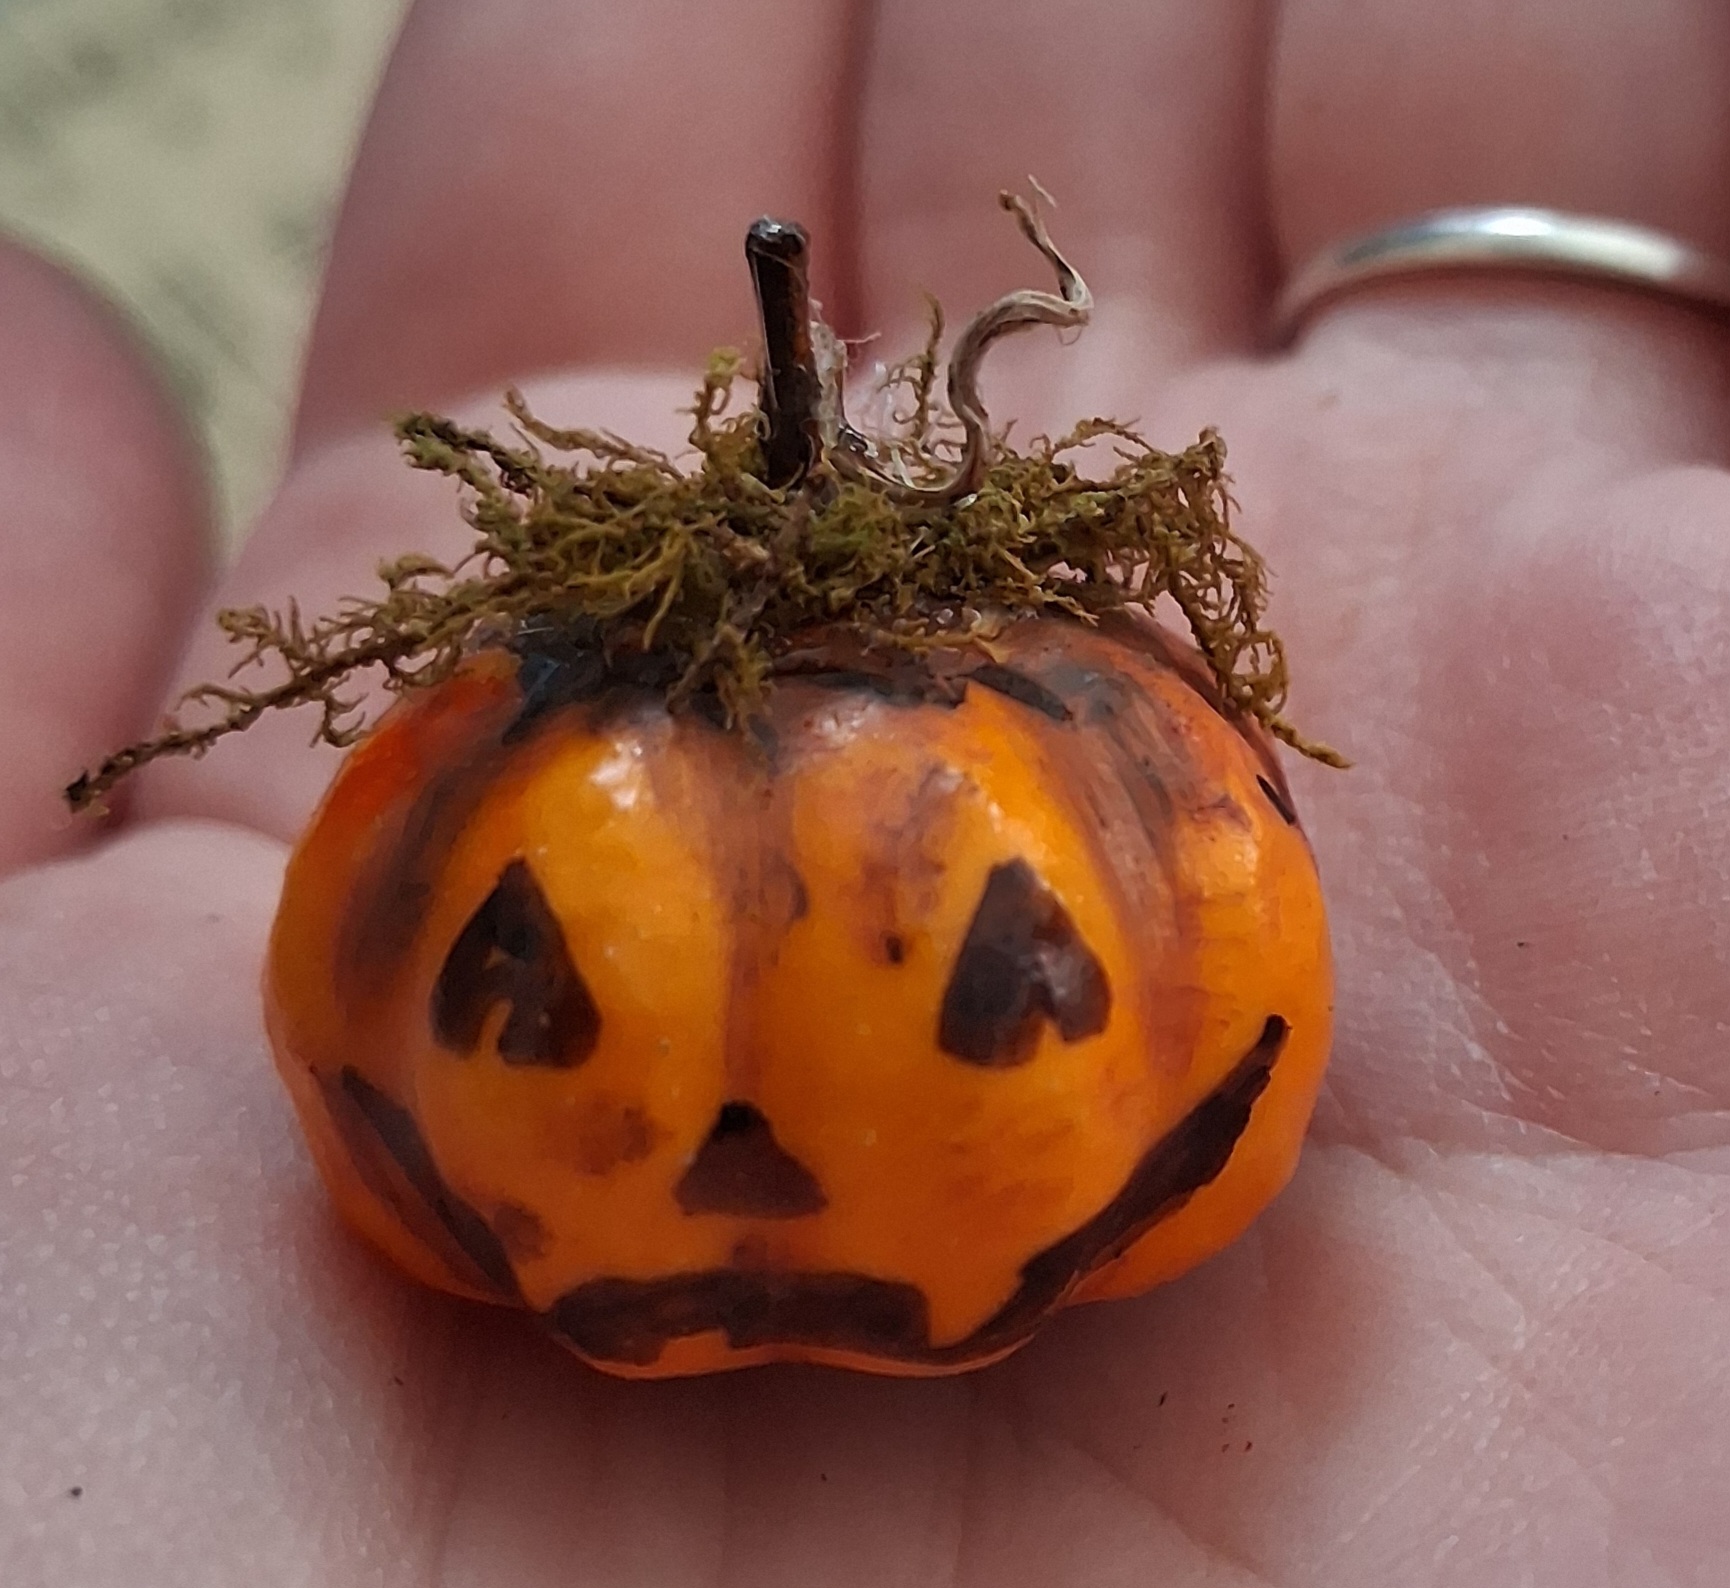
My pumpkin berry had a wire stem, so I used the sharpie to deepen it and draw a sweet little fanged ‘carved’ face on him. Next, I outlined the part around the stem to look like his head had been carved open to scoop the guts out like on a real jack-o-lantern.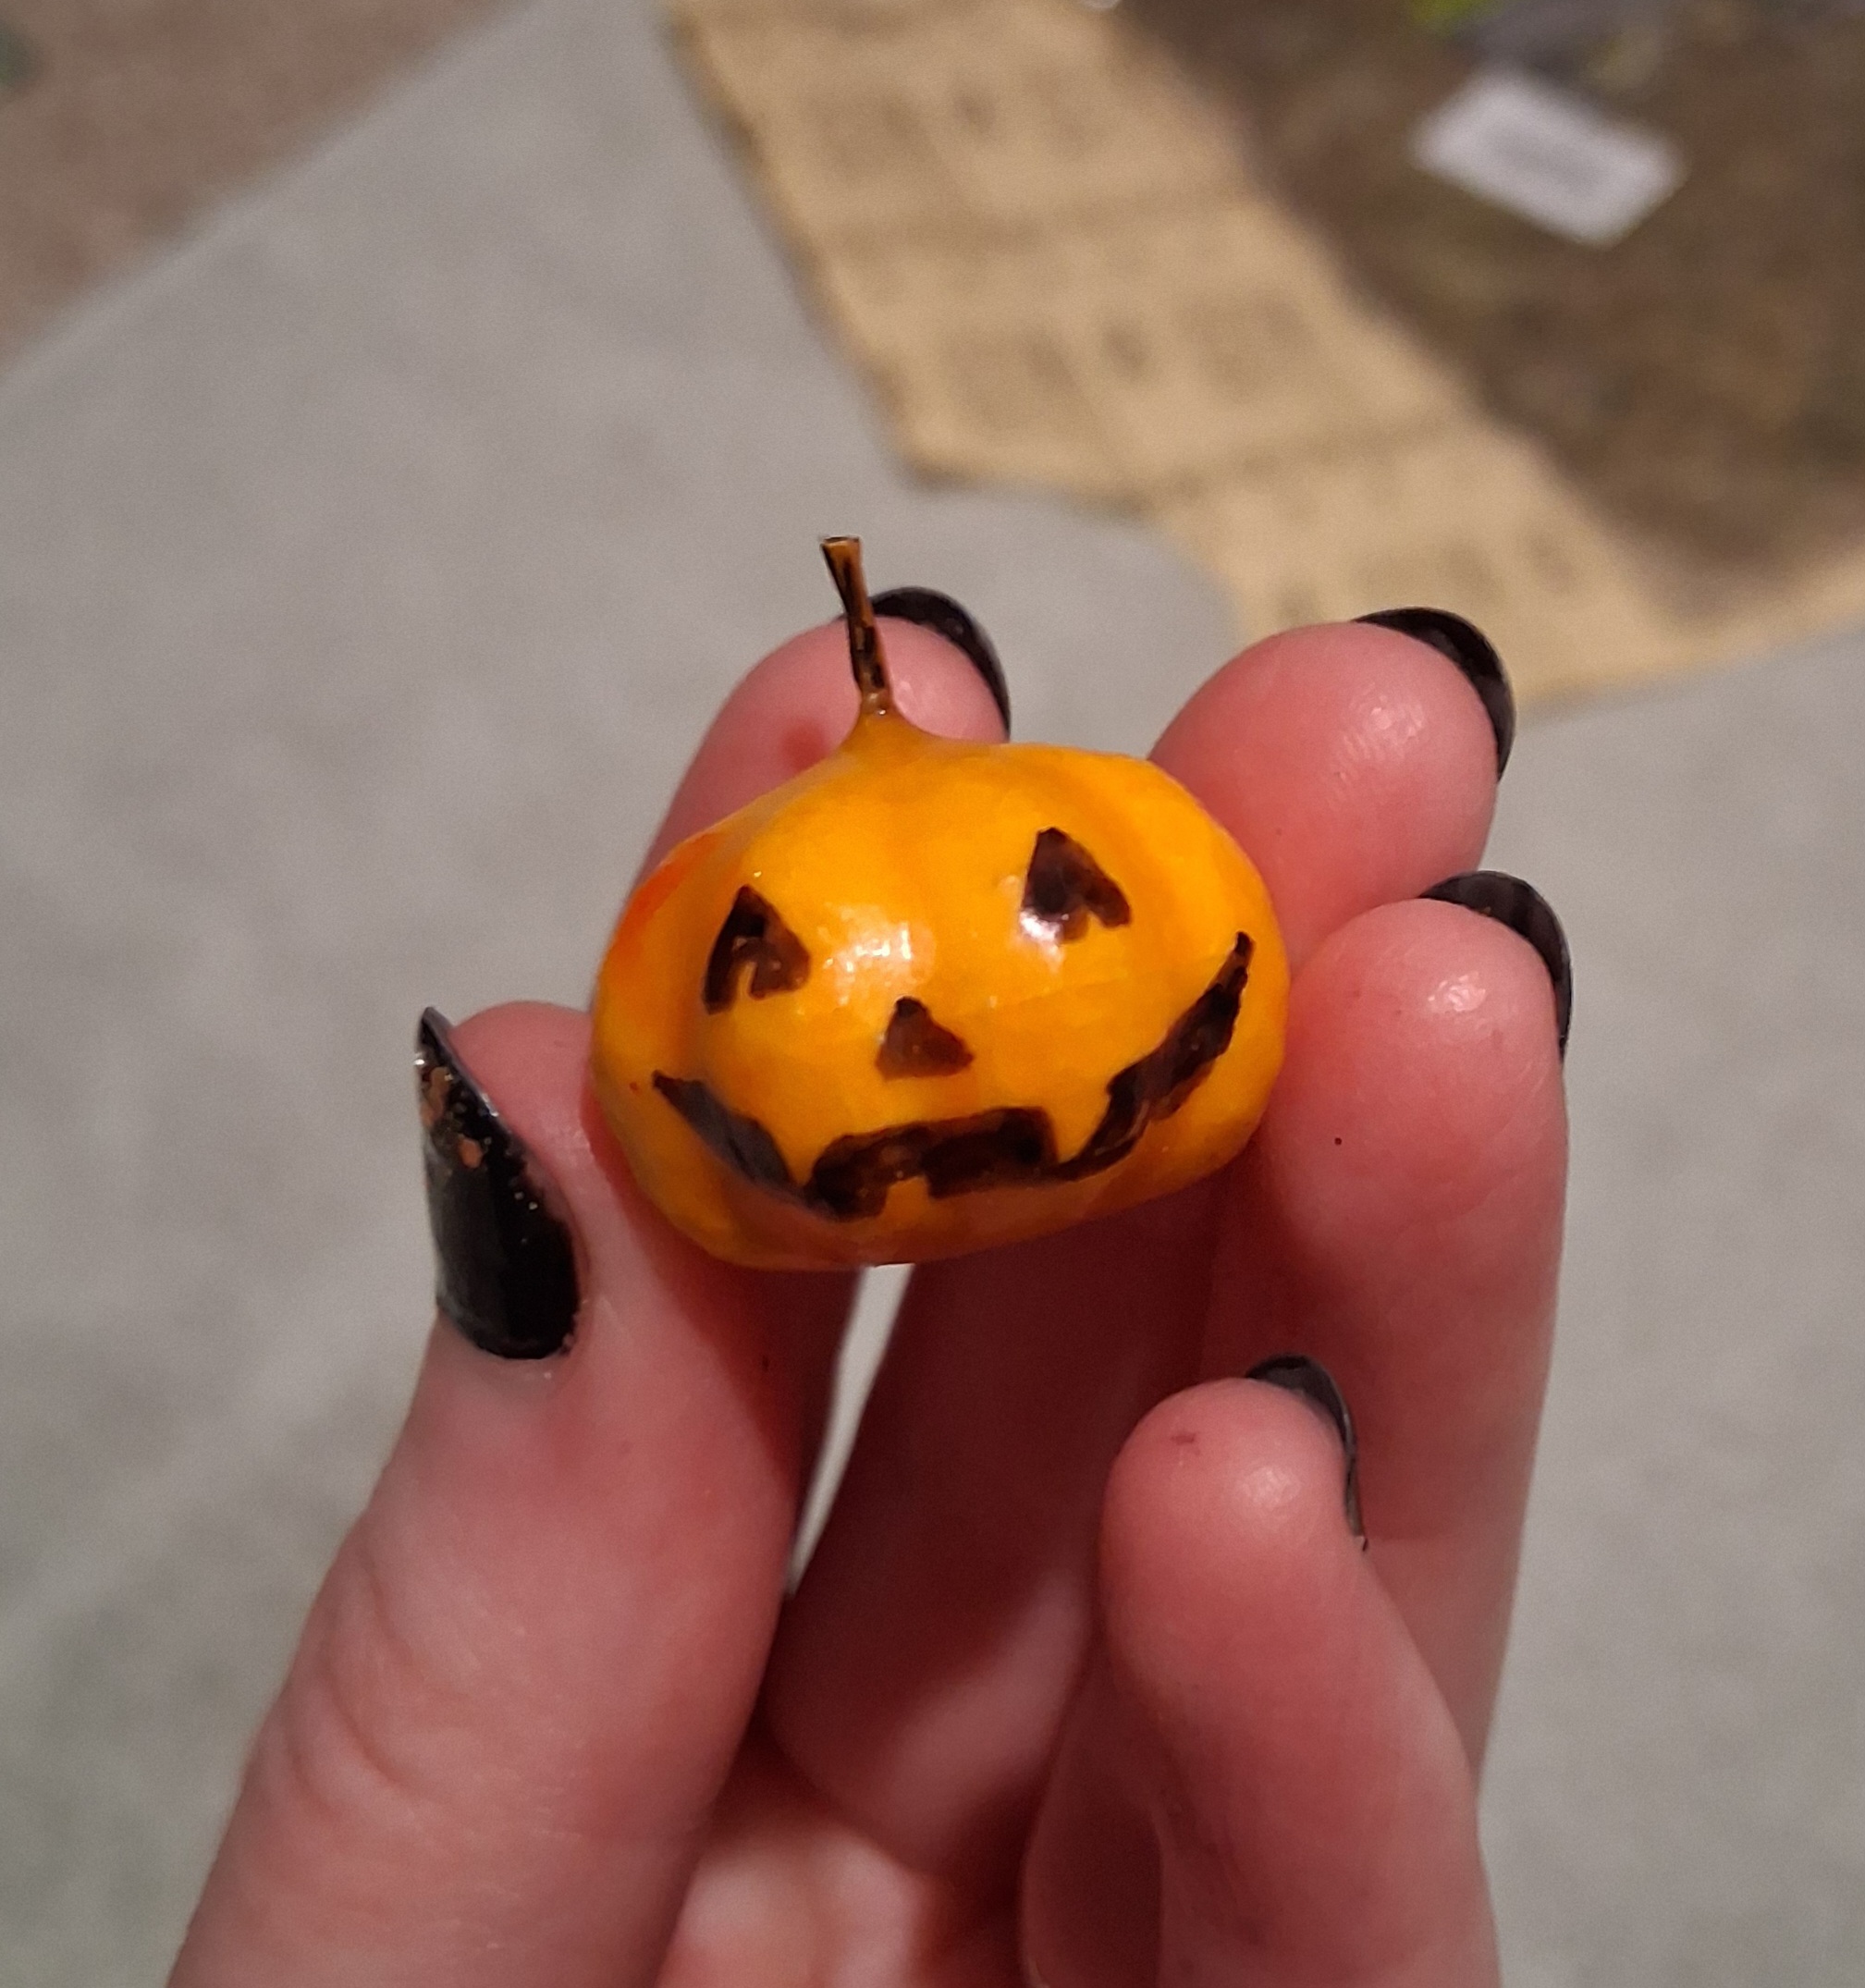
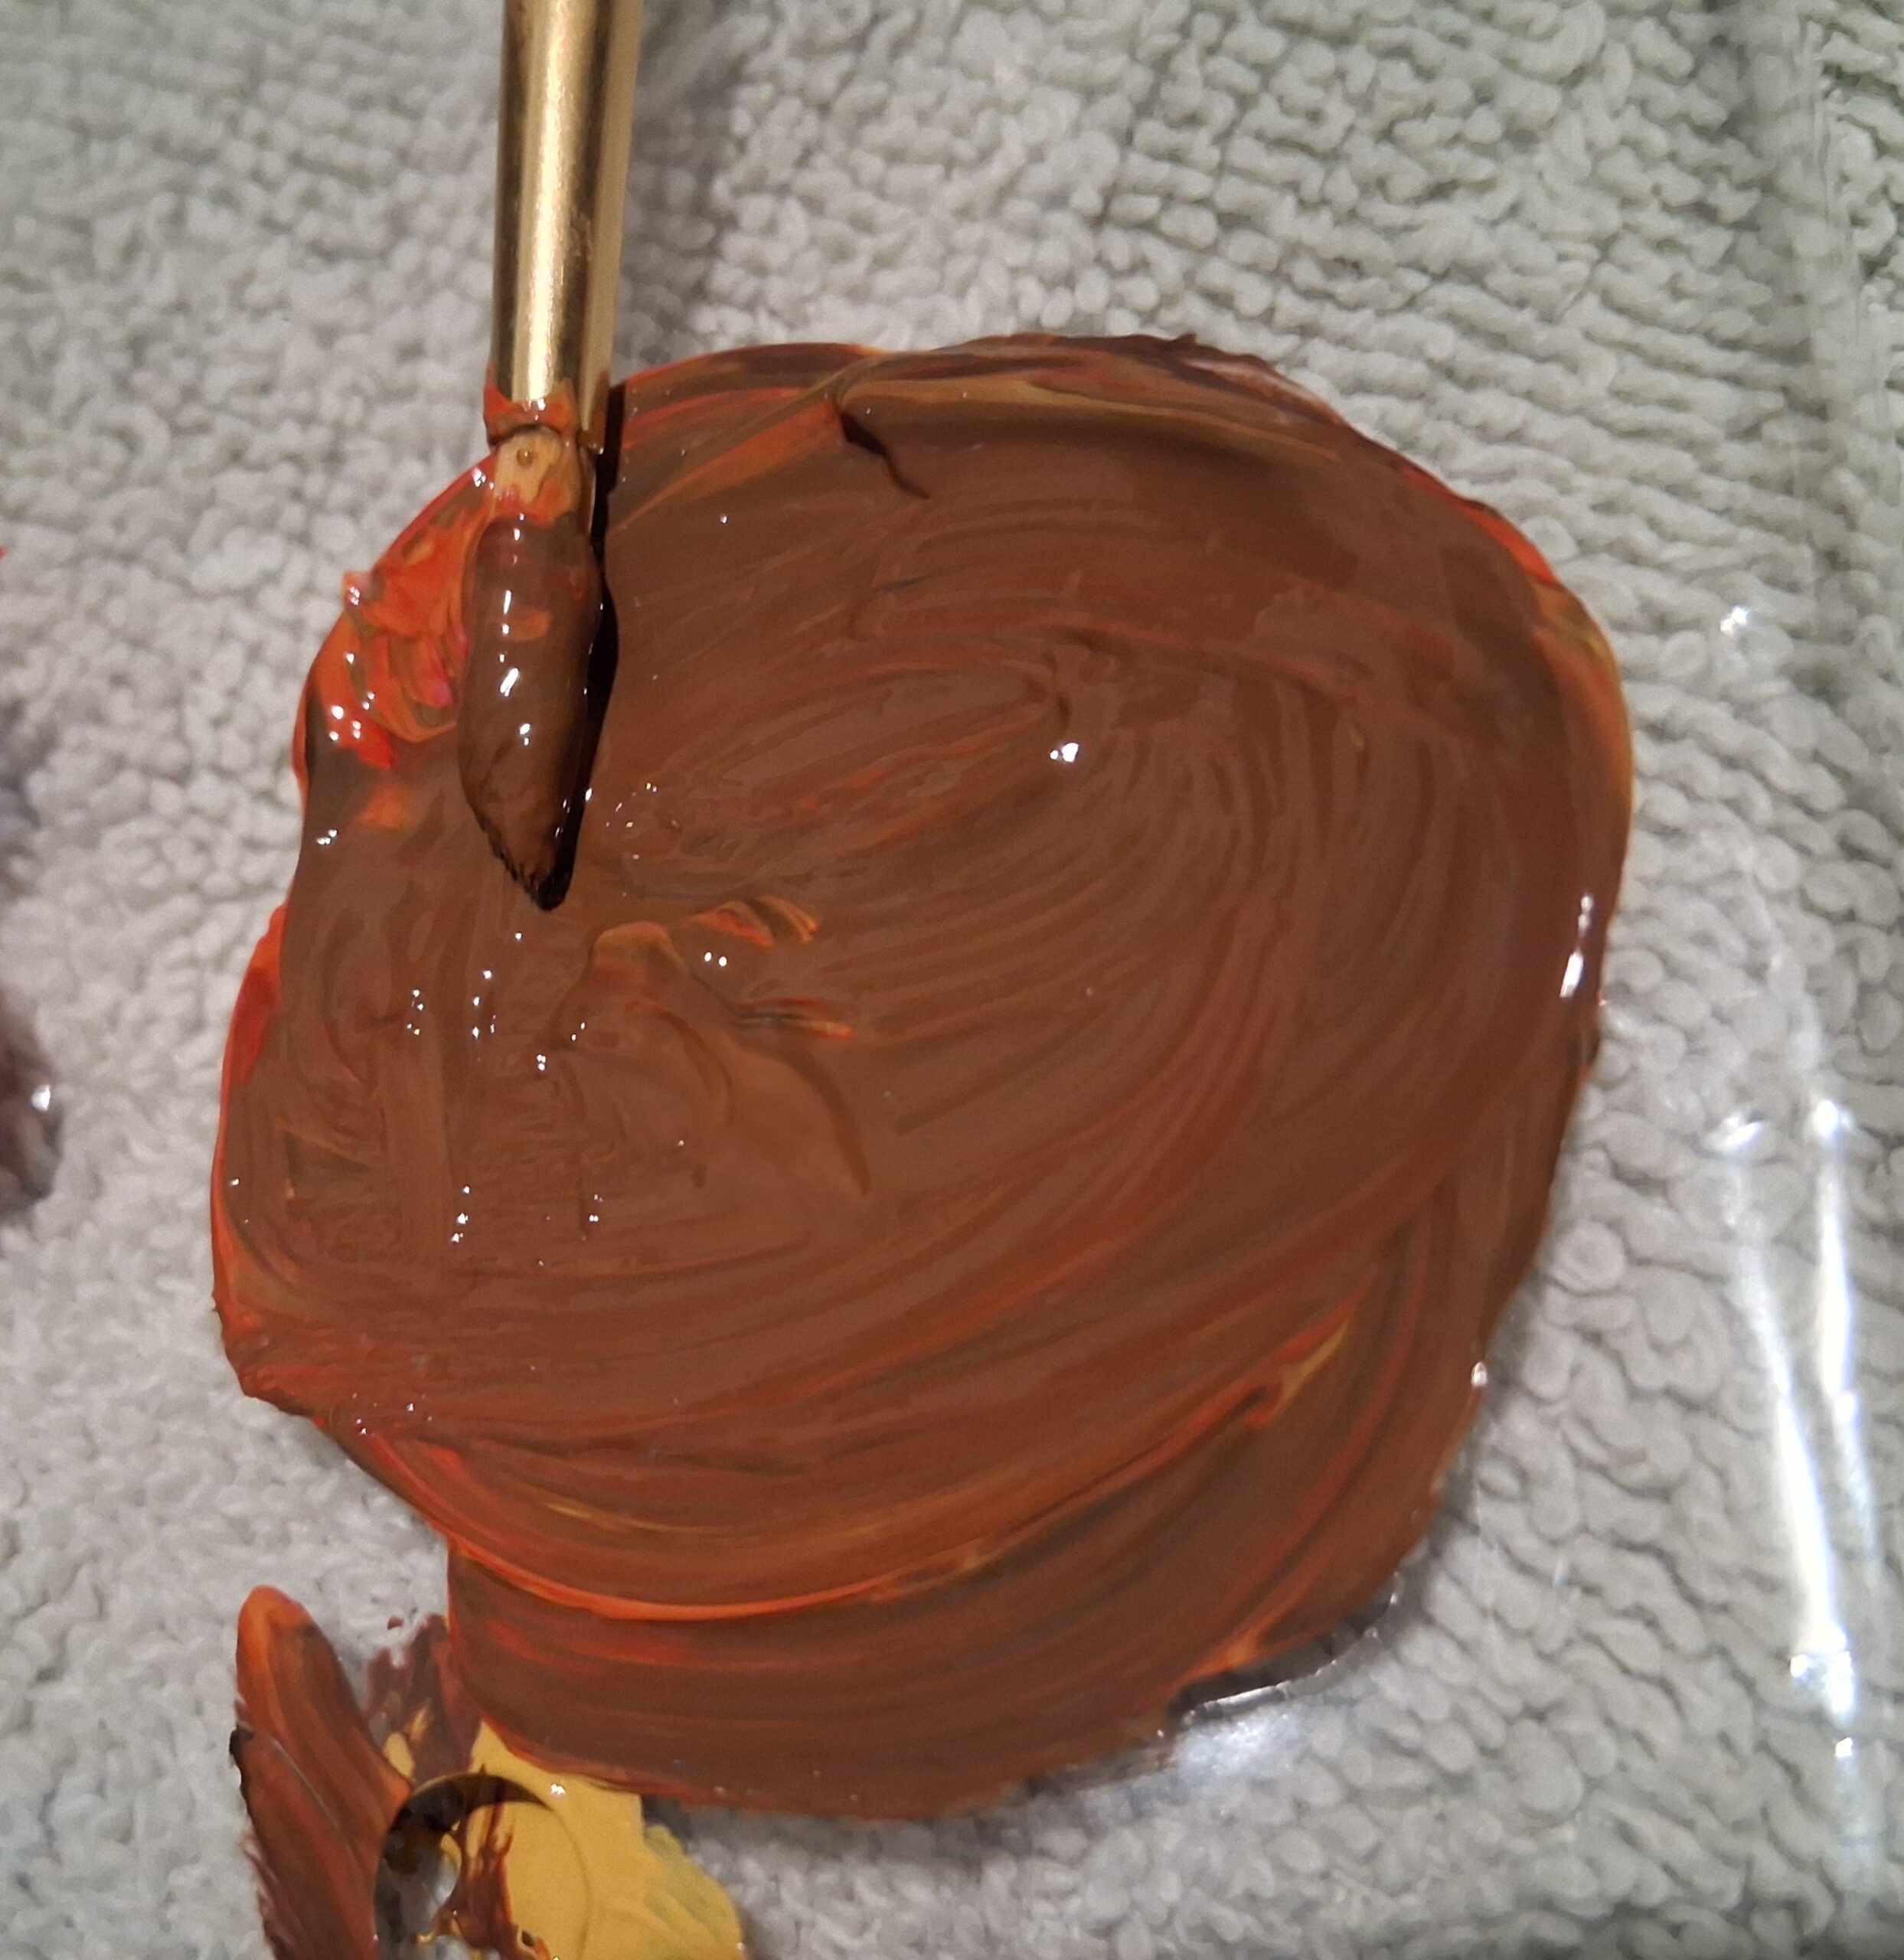
I mixed the yellow ochre and deep red paints with a dab of ivory black to get this shade of orange-y brown. I used this color to define the dips and crevices of the pumpkin, add texture and character to his face, and make his carved head a bit more subtle on top. Throughout this process I painted with short, dabbing motions until the paint lightened up in depositing, giving a more natural and dimensional effect.
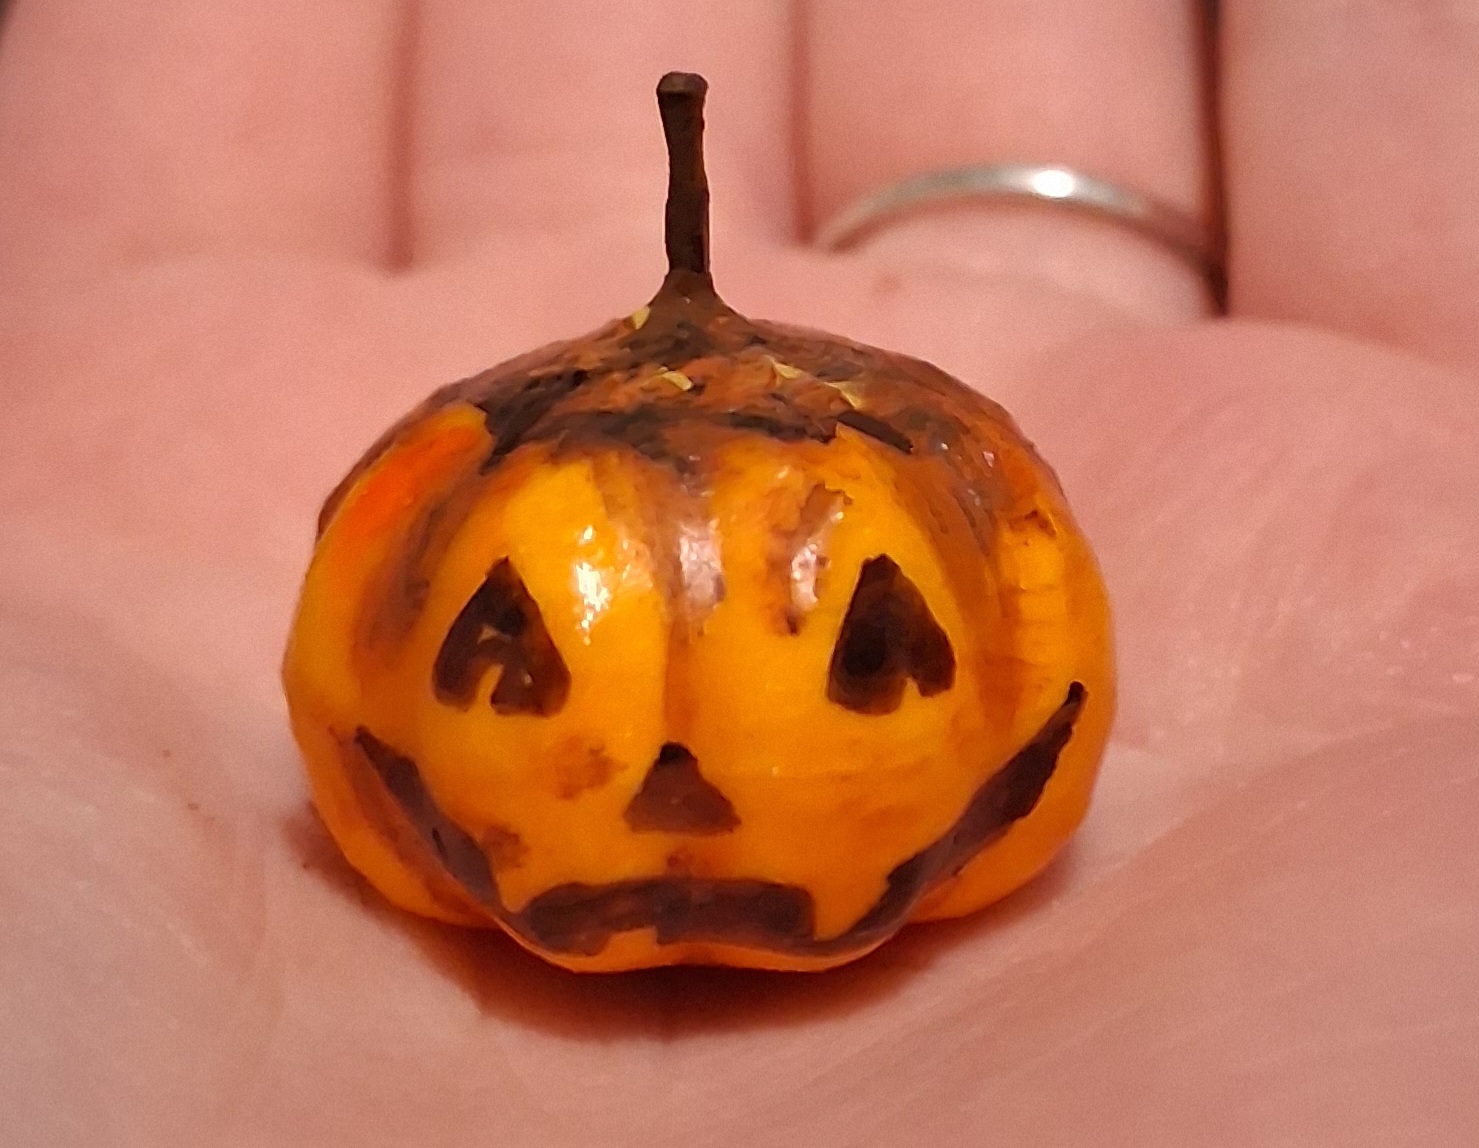
Taking the preheated glue gun, I attached some moss in an unruly spiral around his stem. I took strands and twisted them together first to give it some definition. By chance I found the most perfect, curly sprig in the moss and attached it beside the stem. It resembles a real pumpkin vine so much! I love it.
2.The Tombstones


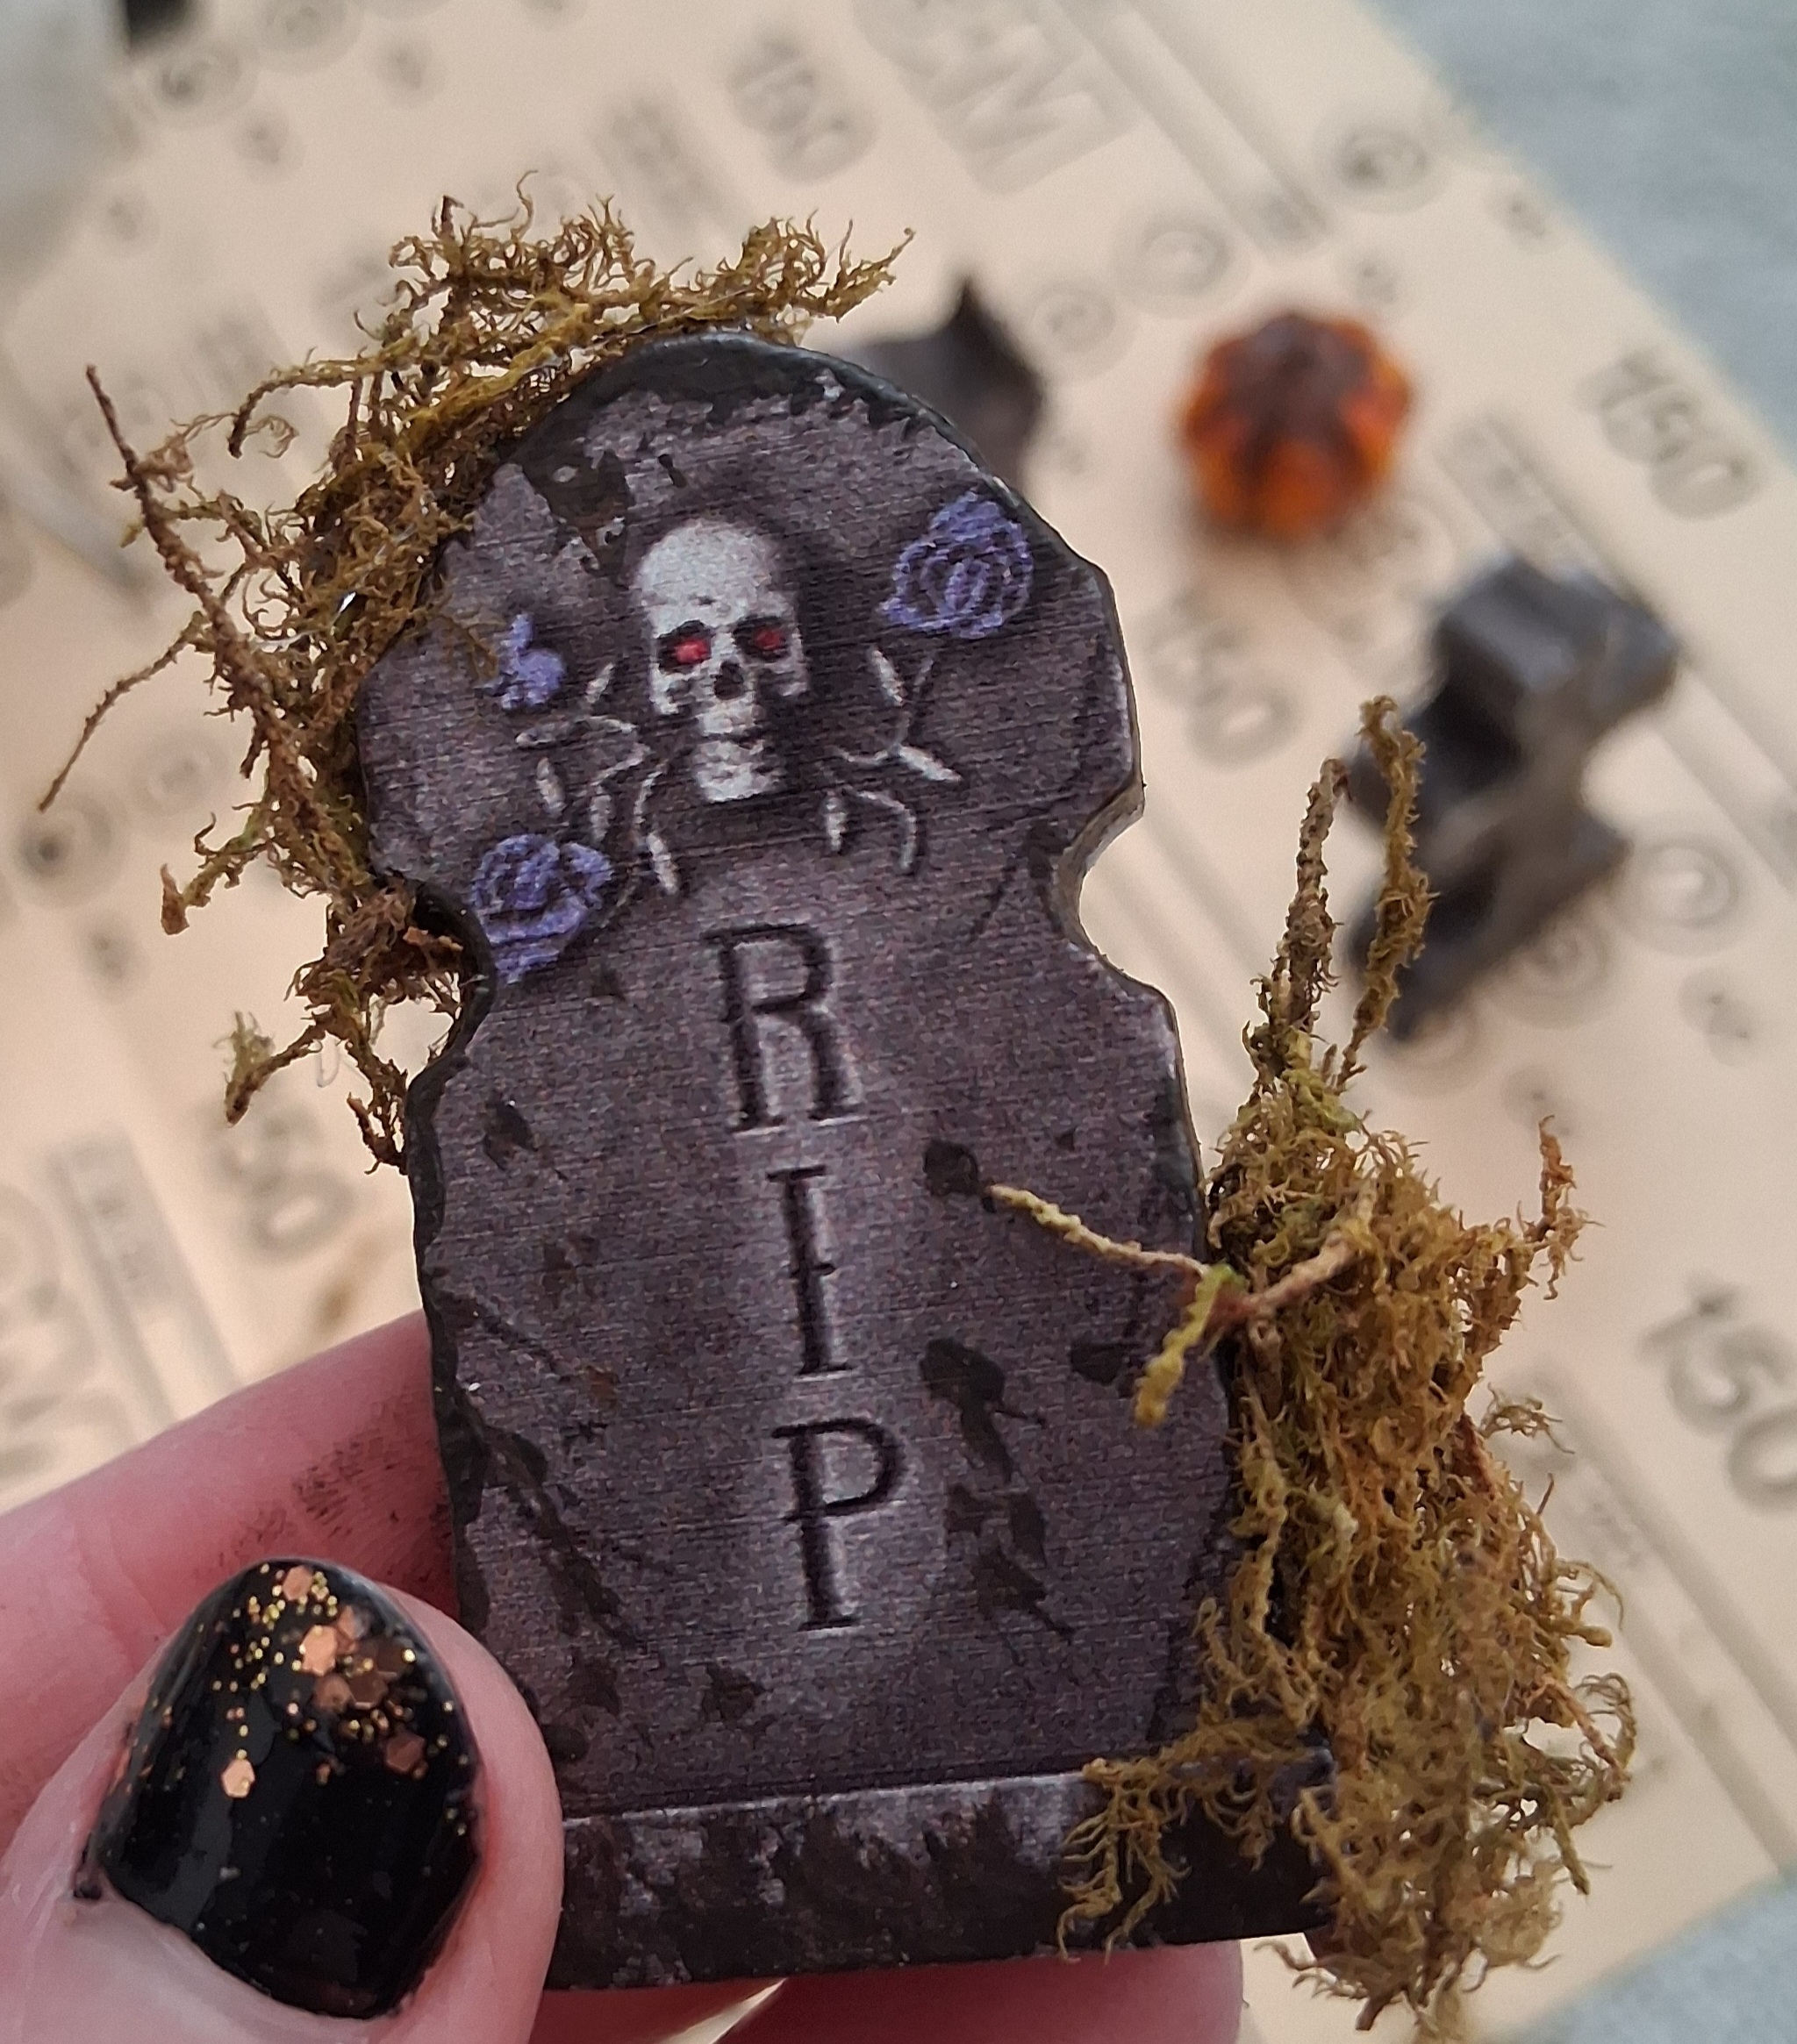
Using the paint from before, I added a lot more of the ivory black to make a deep, earthy, grey-brown. Using a stippling motion, I went around the light grey sides of the stones and haphazardly coated them in graveyard dirt and mold. I used each paint load up until it dried out as before to get dimension and variation in the colors.


Next, I carefully made flicking motions with my brush near the bottom of the graves where rain would kick up dirt off the grass and the shoes of those passing by. I gently textured the front and back of the stones in patches to give the appearance of age and weathering.
After finishing all 3 tombstones, I placed down some deep red paint and mixed in the smallest bit of my dark grey-brown. Using this blood tone, I added some splatters and spooky details to a couple of the graves.


Finally, they were ready for their moss! Using the glue gun, I applied globs to wherever I wanted the highest concentration of moss, attaching clumps along the sides of the stones. Using a pair of scissors, I trimmed whatever seemed too excessive or long. The elements were now all complete and ready for assembly.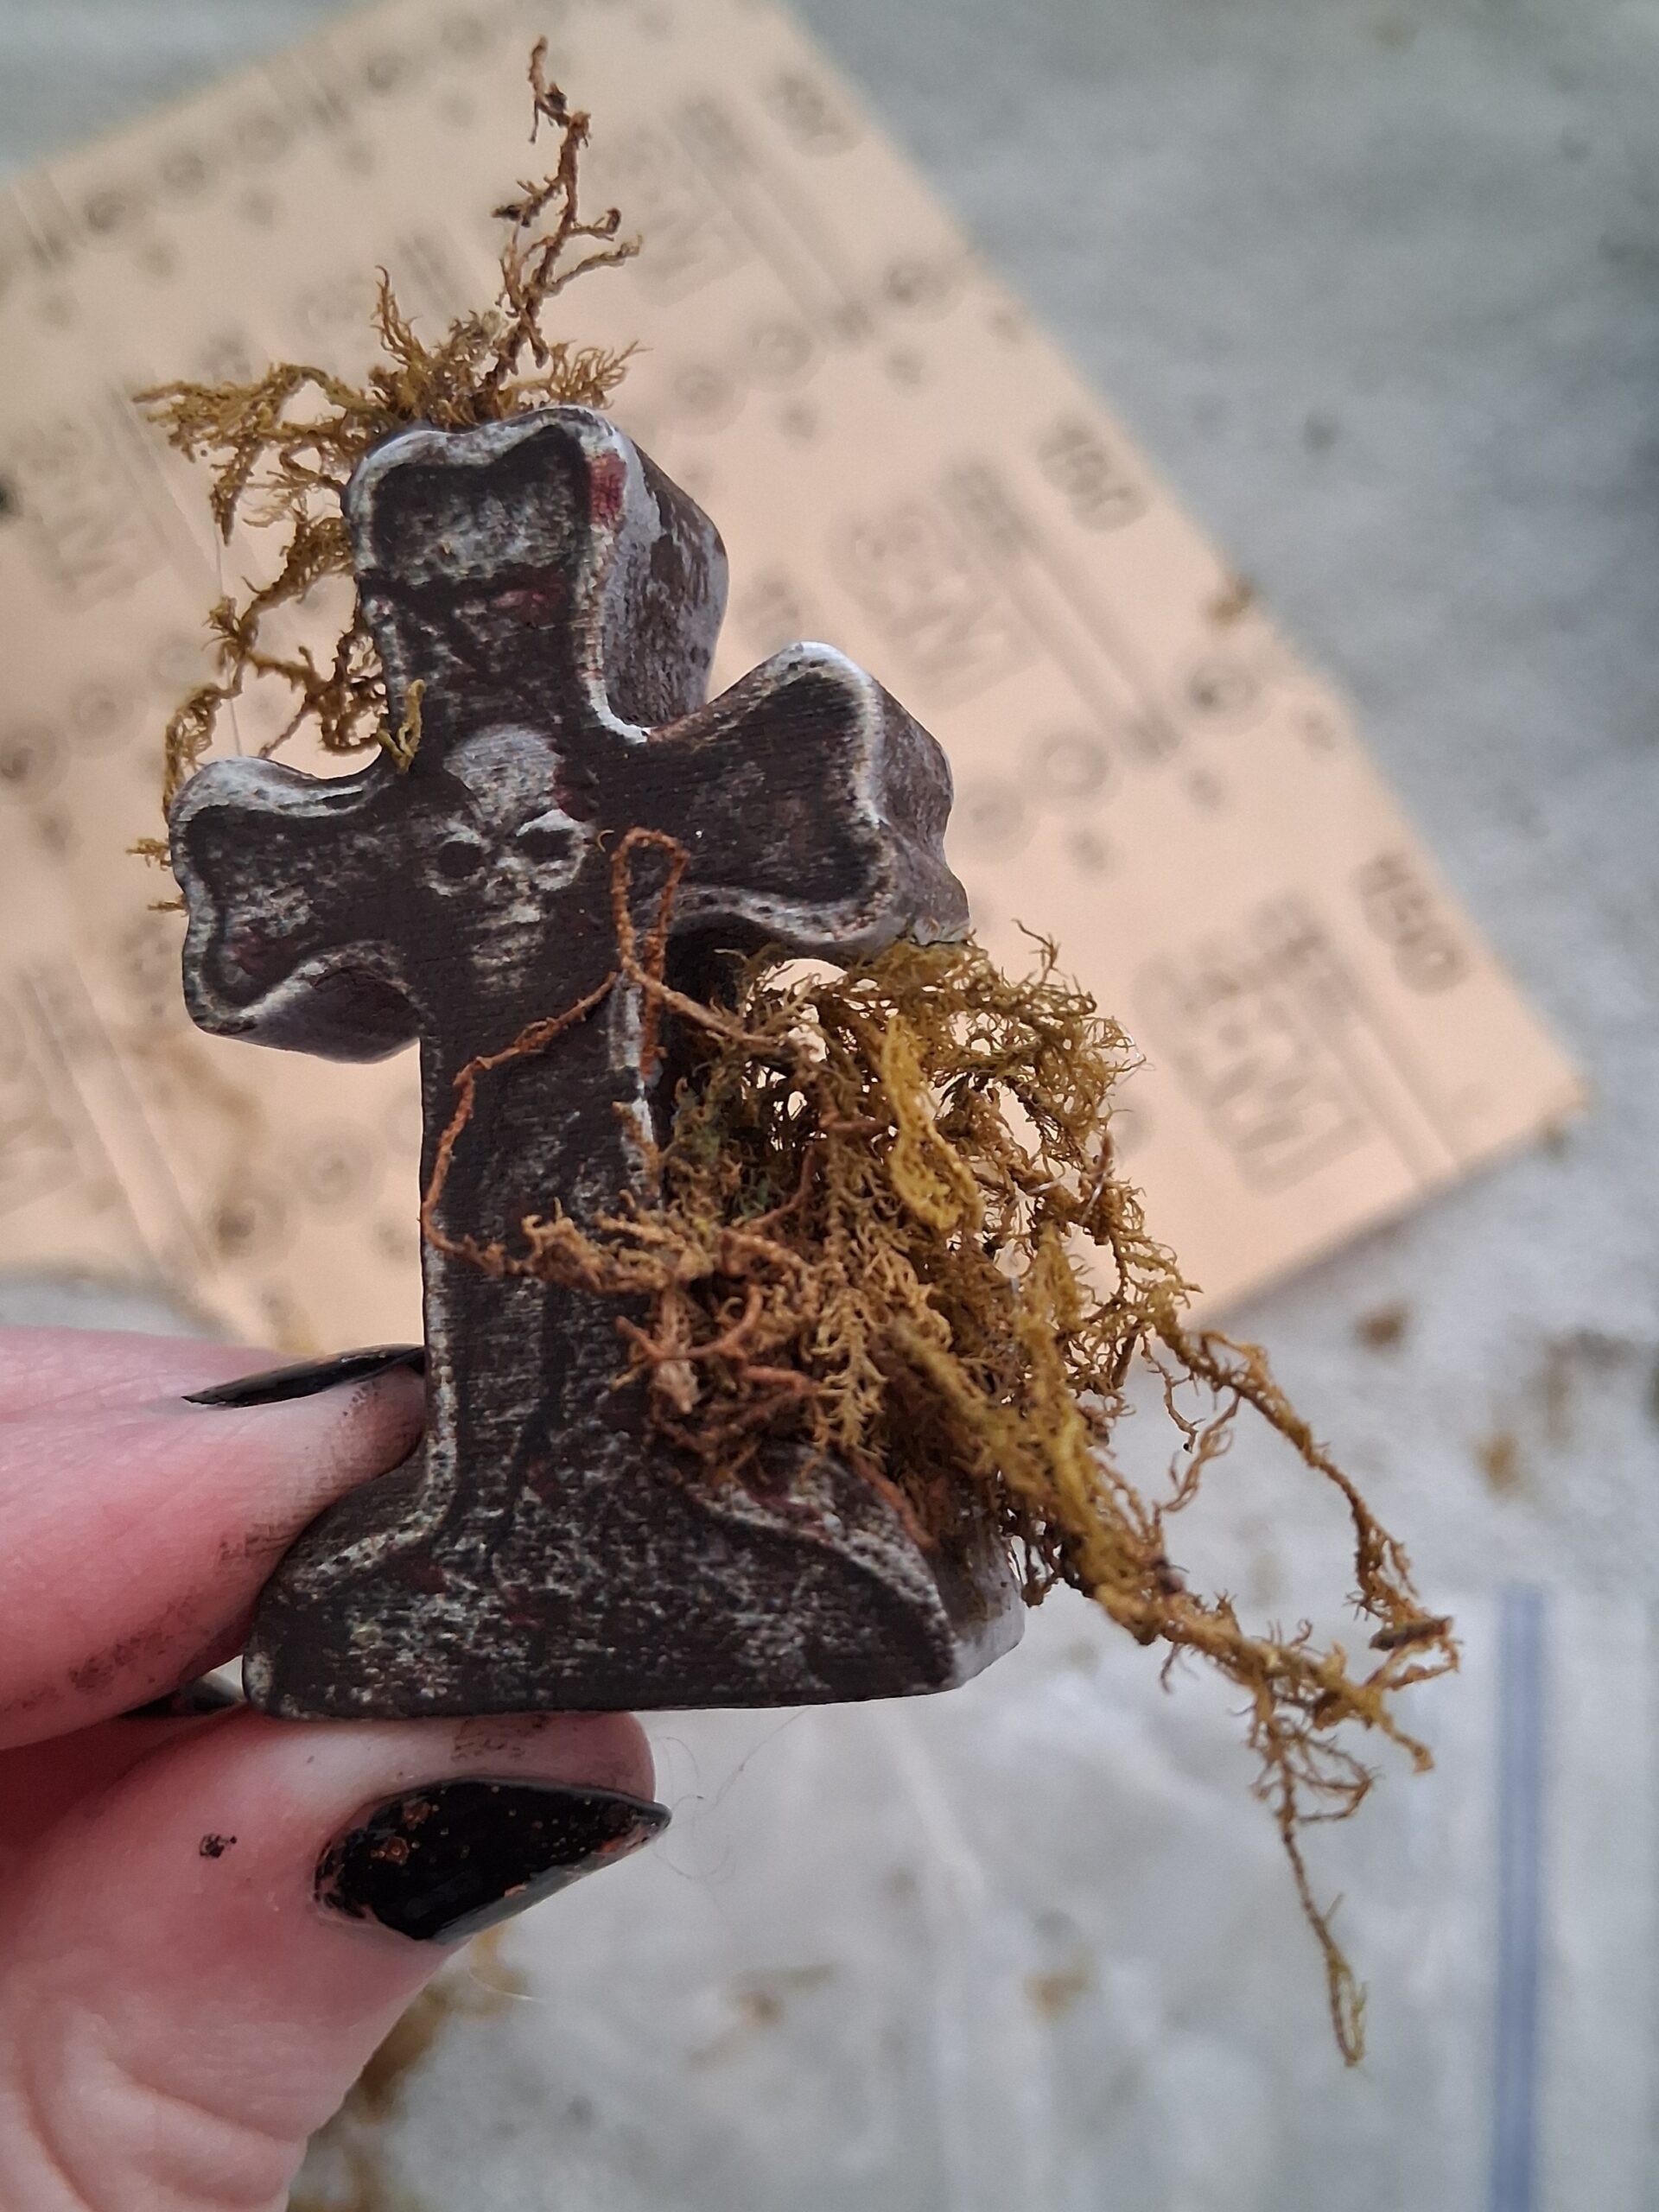

3. Fallen Leaves


This part is pretty simple. You take your faux leaf of whatever color you like and cut it up into tiny pieces. They don’t have to look like perfect little leaves; they’ll give your mind the idea of those when everything is put together.
ASSEMBLE THE TERRARIUM
You can now begin the best part: Staging the scene of your little graveyard terrarium! For this part, make sure you keep an eye on any dust and debris that may get on the outside and rim of your glass. Take the towel and carefully brush it off if that occurs.
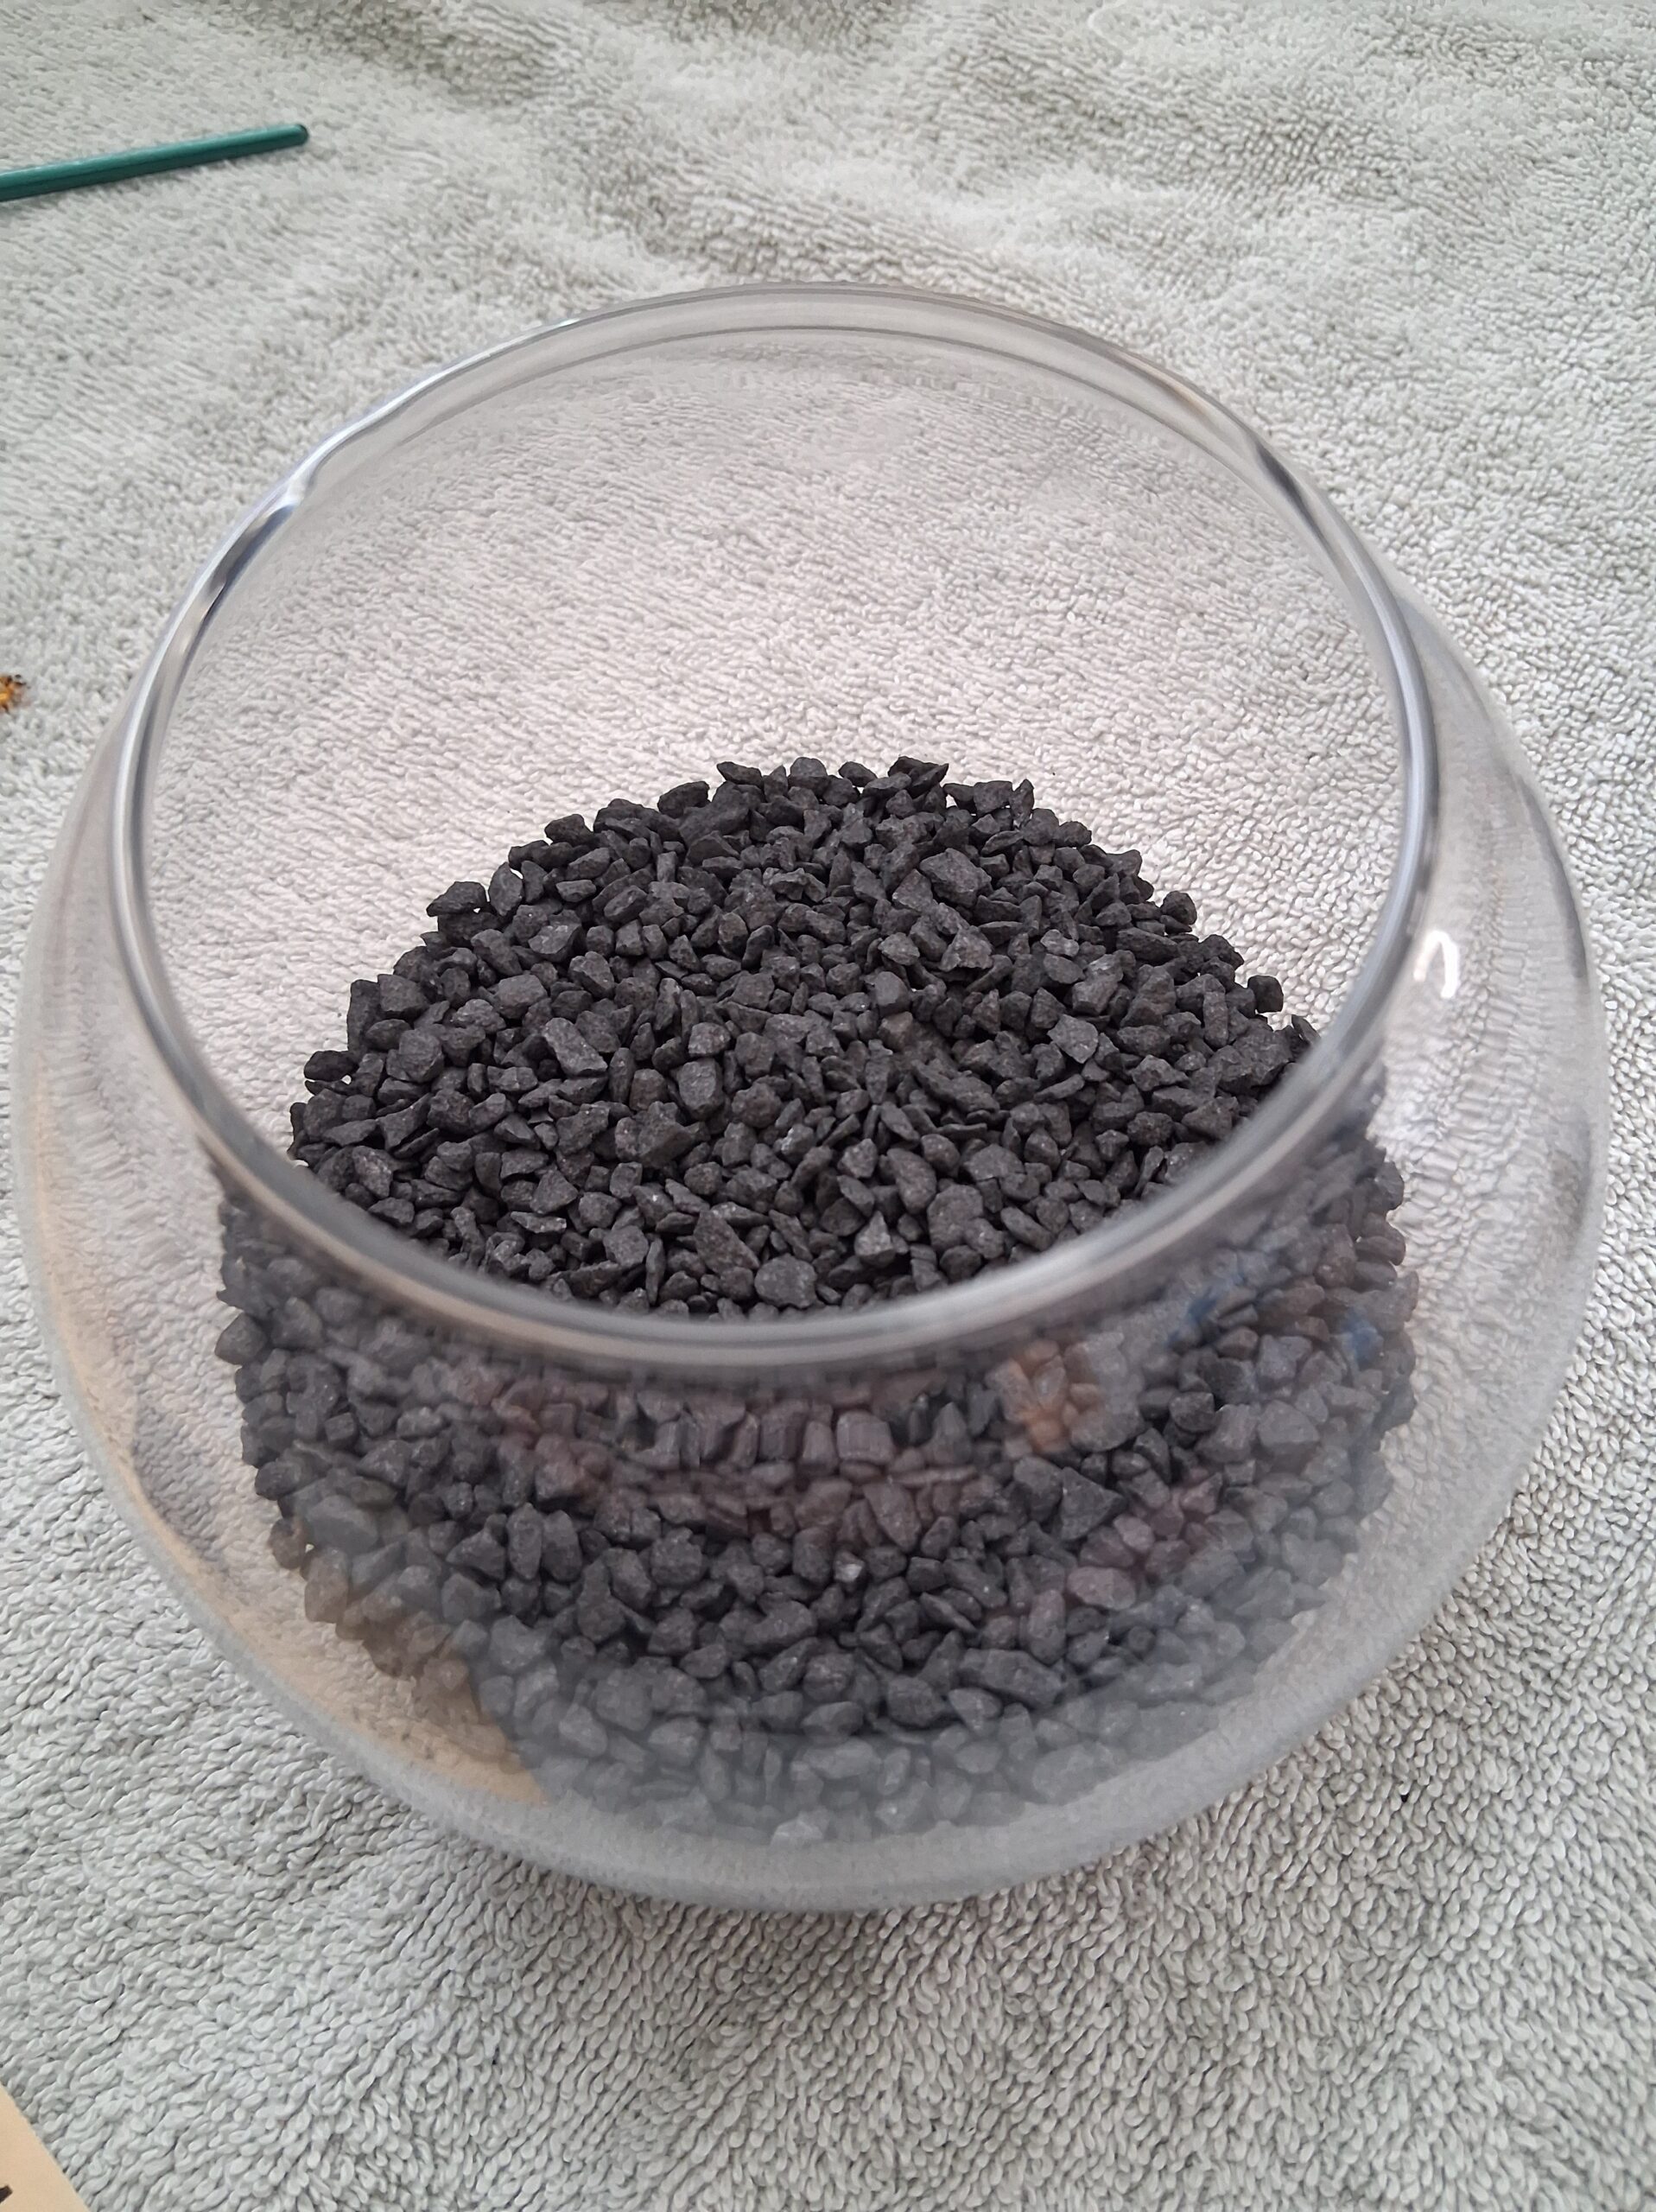
1. Fill with about an inch or two of pebbles or rocks to create the ground and give the elements something to sit in.


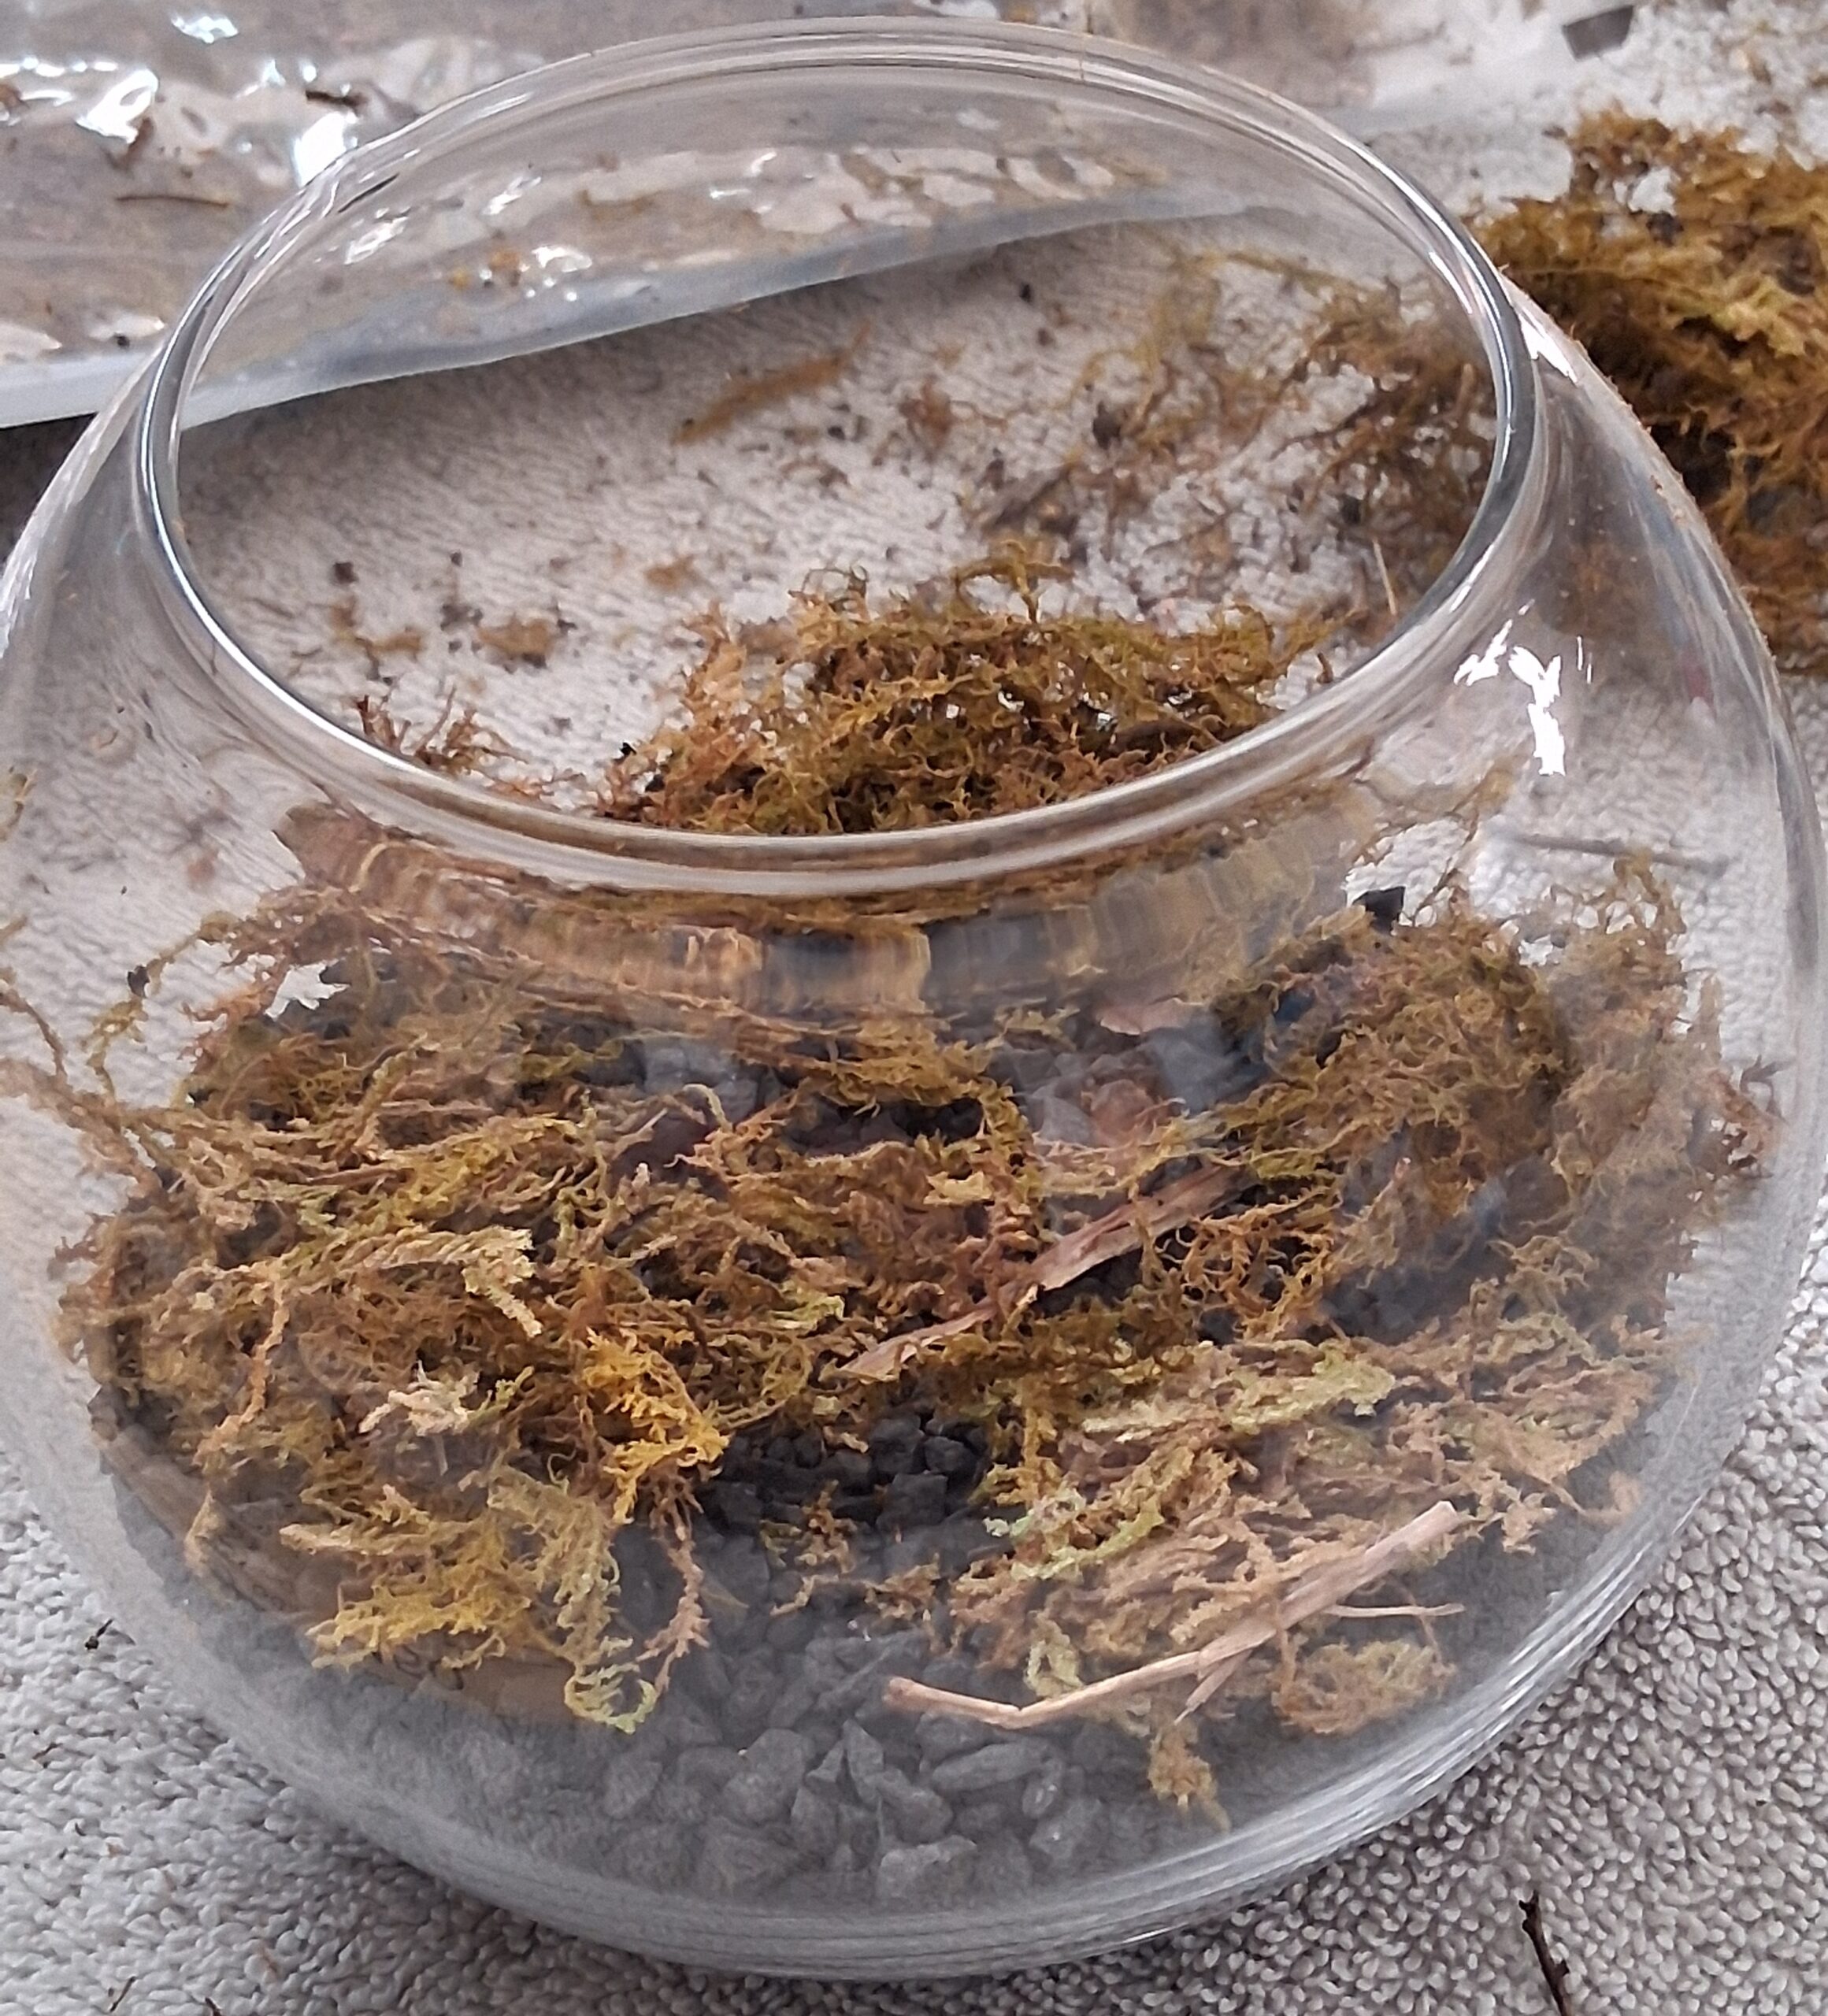
2. Add as much or as little moss as you’d like to create ground cover, using your tweezers to rearrange and your fingers to pat it down.


3. Apply hot glue on the bottoms of each and settle your tombstones and pumpkin wherever you’d like them to sit. Maybe try staging them first in a few way to make sure it looks how you like. If your fingers keep getting in the way, use the tweezers and go back and forth until you're satisfied.


4. Sprinkle the leaf confetti you made throughout the scene and you’re done!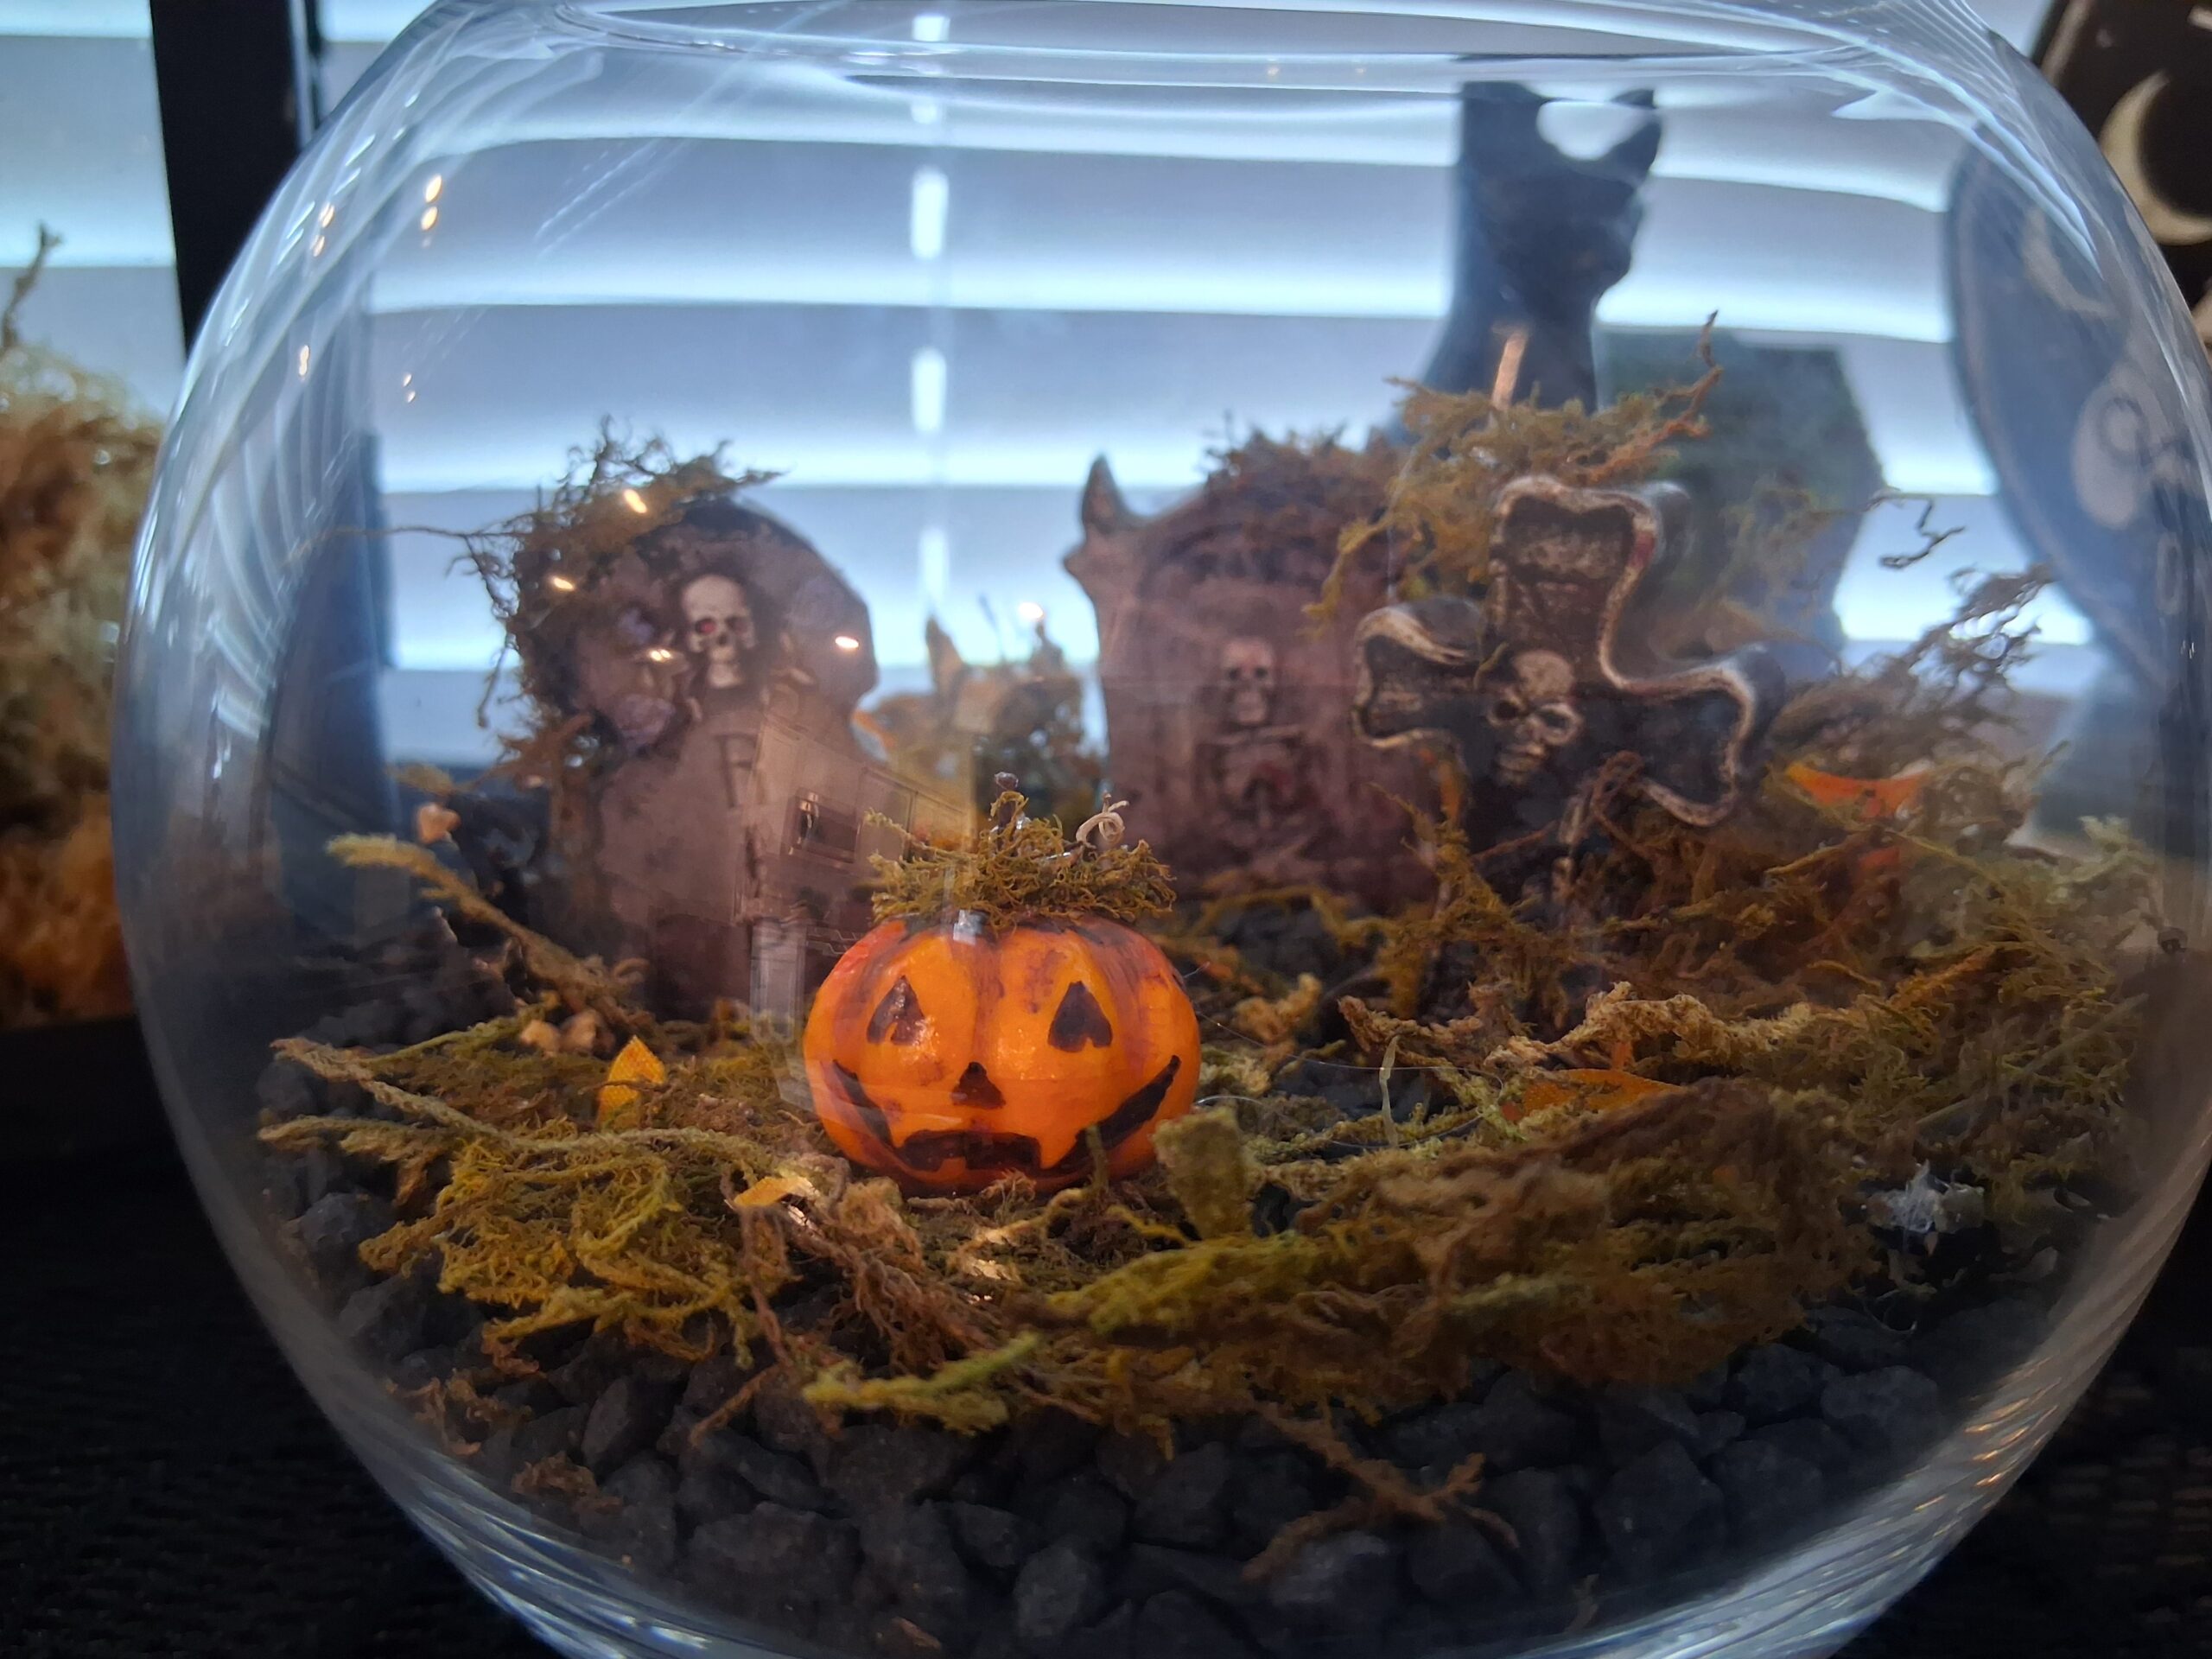
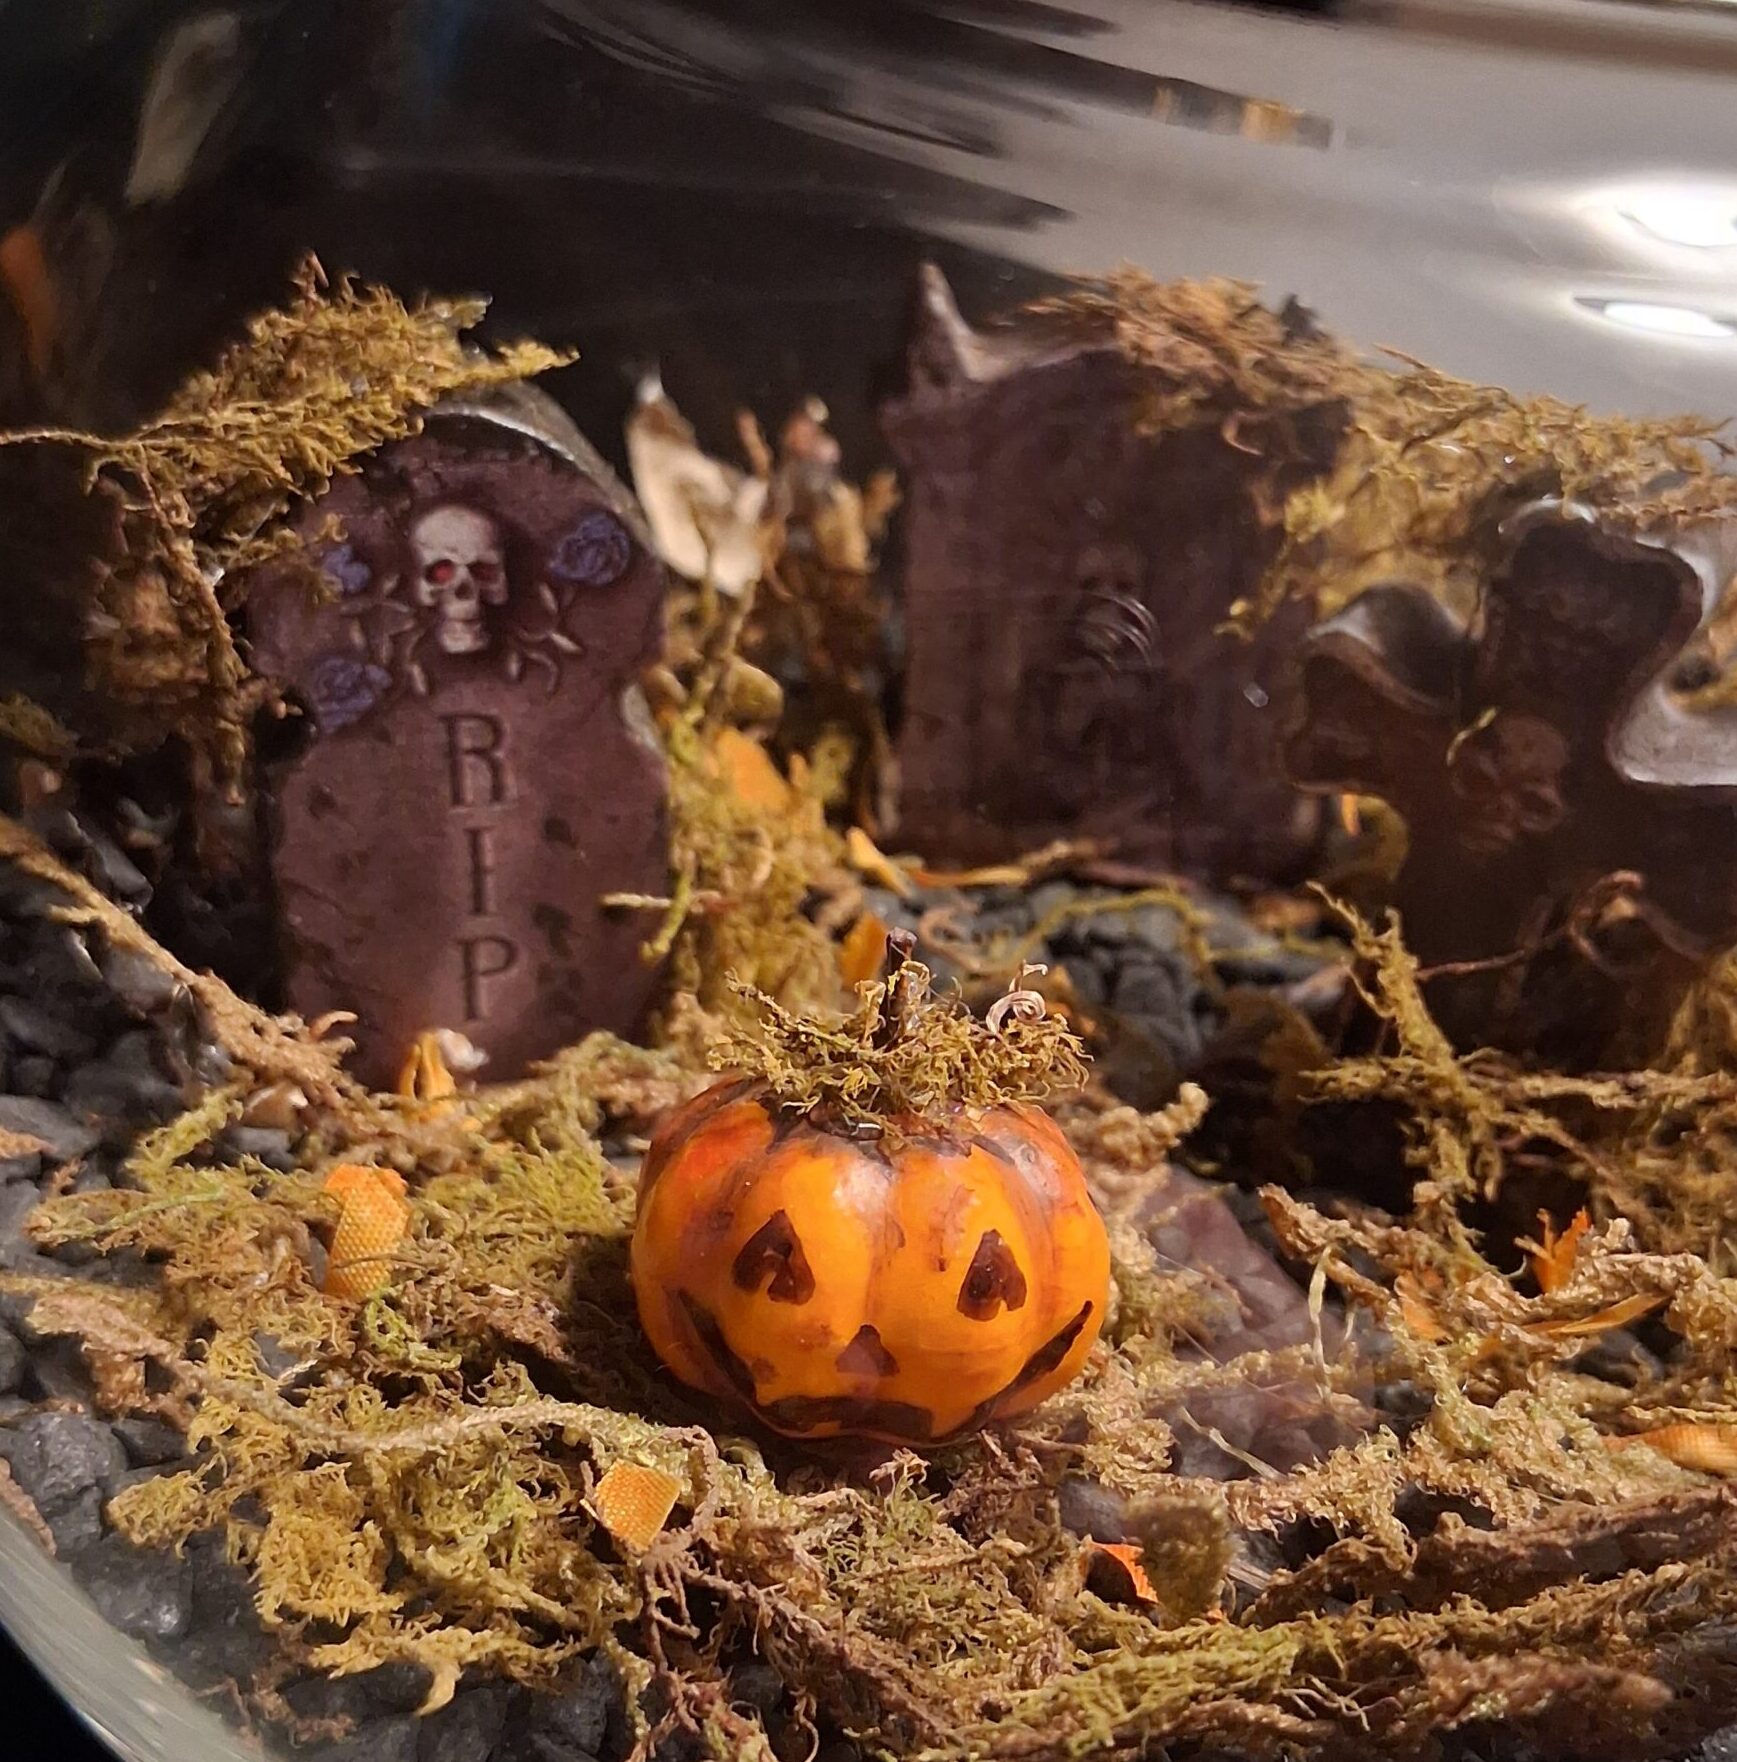
I found this project to be just what I needed to get Halloween started. It made me feel so alive! Oh, the irony… It’s creepy, it’s cute, and most importantly, it’s fun. This is a great DIY craft to try with an older child or a friend or partner. It’s even better to do alone, as working with tiny things can be quite the delicate task. However you wish to try out this craft, I hope you have the best time and feel inspired to keep making more.
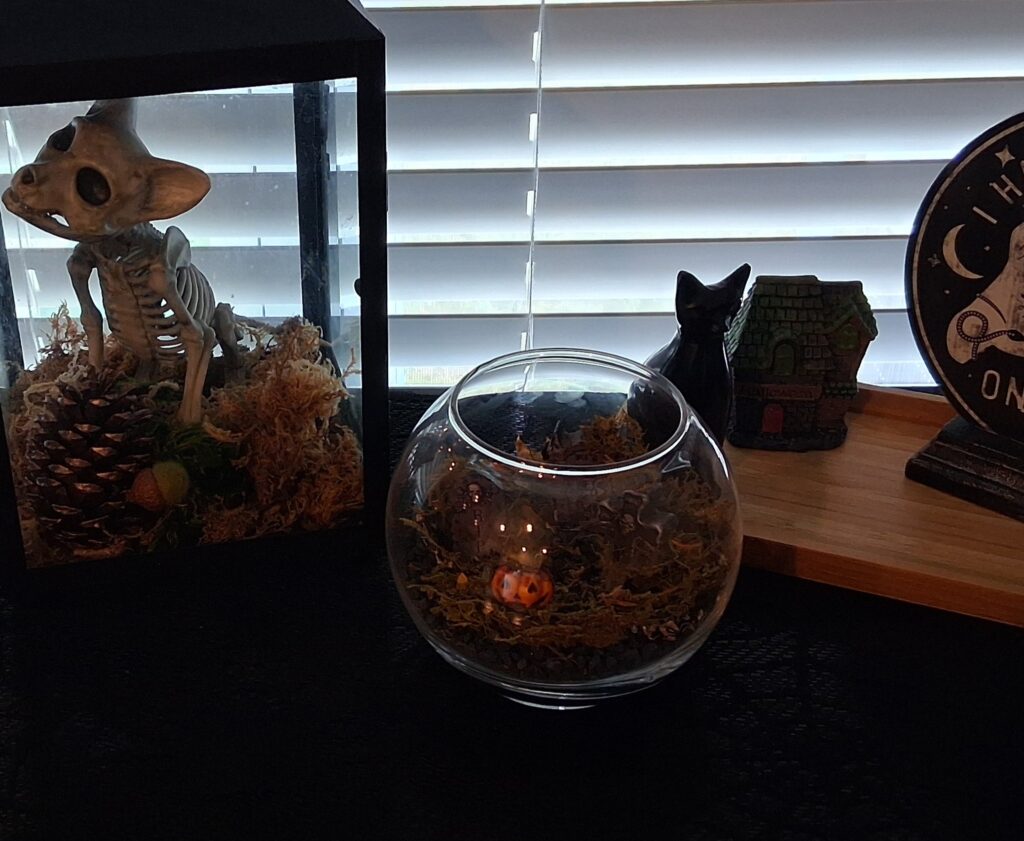
Happy Halloweenin’
The Fox in the Hollow,
Sara Fox


